4 Steps to Help Make School Lunches a Breeze
If making lunches at home for school is making you crazy then you are in luck! This post will give you 4+ ideas to help with school lunches.
Now that most of our kiddos are back in school let’s talk about school lunches, shall we? 🙂 How many of you send home school lunches ? How many have your kiddos eat school lunch? Or maybe both?
This post contains affiliate links for your convenience. Click here to read my full disclosure policy. Thank you so much for helping to support A Red Hair Girl!!
In our house we do both sack and school lunches. My son LOVES lunch from school. I mean he eats things he would never eat at home, I’m talking about you chicken sandwich and orange chicken.
To be honest he will now eat orange chicken at home but that’s just because he ate it at school first. Silly boy! A very cute silly boy that sometimes drives me crazy.
We let our second grader pick lunch from school 2-3 times a week. He gets to see what is going to be served for the week and decide when to take lunch or get lunch at school.
This post is going to help YOU and your children make their home lunch. And it’s going to be a breeze!
4 Steps to Help Make School Lunches a Breeze
Step 1: Decide on some things your child eats well
This step will probably best be done with your child. I sat down with my son and we went through food on my Walmart grocery app. Anything he said he would eat I put in my cart. After we had about 14 things in the cart I let him pick 3-4 that he wanted to start out with.
Now that you have a few things that are just for school lunches you should be set for awhile. You may need to adjust how many different items you get depending on how many kiddos need lunches and how often they are bringing school lunches from home.
We decided to let the girls pick one or two things from the school lunches on Friday. They didn’t want to be left out of the fun food. This will let them have some but also save our wallets.
Step 2: Set Boundaries
This many seem kind of weird but it will completely make sense in a bit. Before school started I sat down with my son and we talked about what he can have in his lunch. This is important because he needs to pick foods that are healthy and keep him full.
This is what my kiddo gets to pick for his lunch:
- sandwich, bagel, or muffins
- two servings of produce
- drink- he normally has milk or water
- one “treat” (read in the next section to see what these items are)
- yogurt (if he wants one)
I bet my son could live on peanut butter and jam sandwiches, especially if he gets white bread. He also likes what he likes. Last year we bought a thermo container to put hot things. He didn’t eat it, ever.
So, now we just stick to the things he will eat and love: pb&j sandwich, begals, or frozen muffins. They will thaw out by the time he eats lunch.

With clear boundaries set up of what is expected for school lunches you will cut back on the fighting and stress of packing lunches. If you have foods that your child likes then they will be more likely to eat their food during school lunches and not throw it away or come home with it.
Step 3: Create a Lunch Station
When you create a lunch station you are putting all of your lunch items in the same place. Or two same places: perishable items and non perishable items.
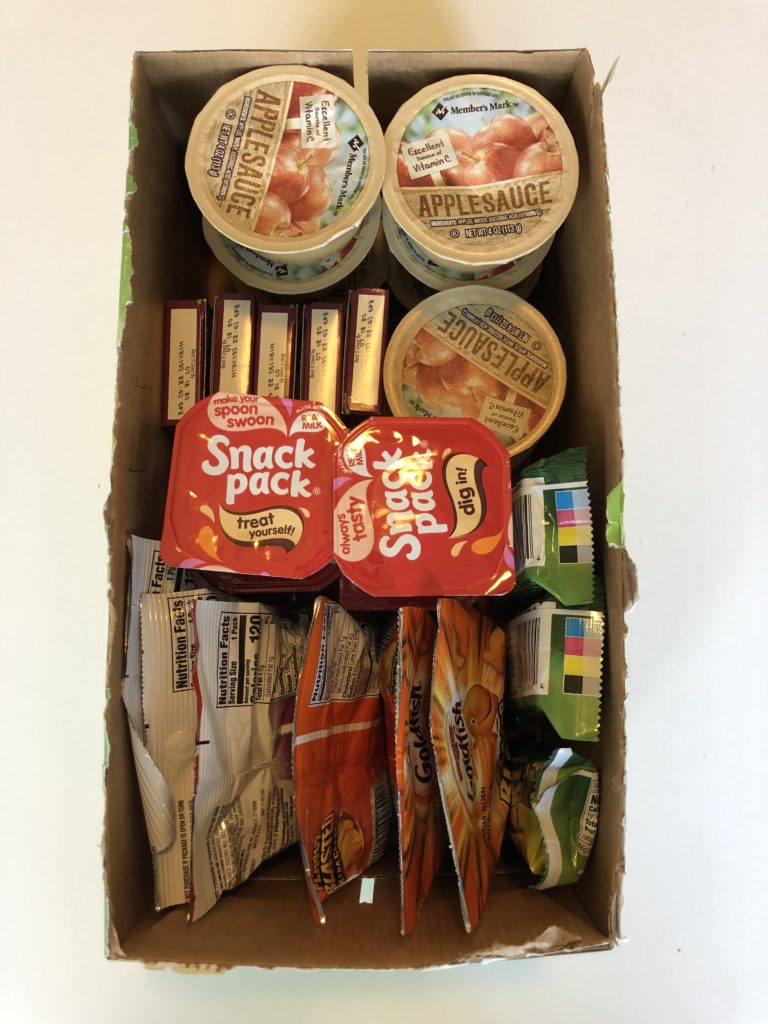
On the very top shelf in our pantry we have a container that holds all of the lunch items my son can pick from. Before school started I filled it up with everything that we bought for lunches. Once it is totally empty I will fill it up again.

The reason I am going to wait to fill it up is to make sure all the food is being eaten. This will also help me to know my son’s favorite things to take for his school lunches. Those items I will buy again when I need to stock up.
Some of the foods we currently have in our non perishable lunch station is: applesauce cups (I was informed that my homemade applesauce put in tuber-wears was not going to be eaten… WHAT!? Crazy kiddo!), pudding cups, goldfish crackers, raisins, and the hard granola bars. Besides the applesauce these are all considered “treats”.
This is where we keep his lunch box and sandwich boxes. When everything is in the same place it makes it super easy to make and put away lunch supplies.
We don’t have a fridge lunch station, mainly because we don’t have room to consistently have one. In the next section you’ll learn what we do to make our fridge lunch food easy to prepare.
Step 4: Plan When and Who Makes School Lunches
Now that you know what foods your kiddo(s) want and will eat, what’s expected to be in their school lunches, and where to find them it’s time to make a plan for making lunches.
As I mentioned above my son gets to pick 2-3 days he has lunch from school. After we know what days he is going to bring a lunch we are ready for the week. We have found that starting the lunch the night before really helps us in the morning.
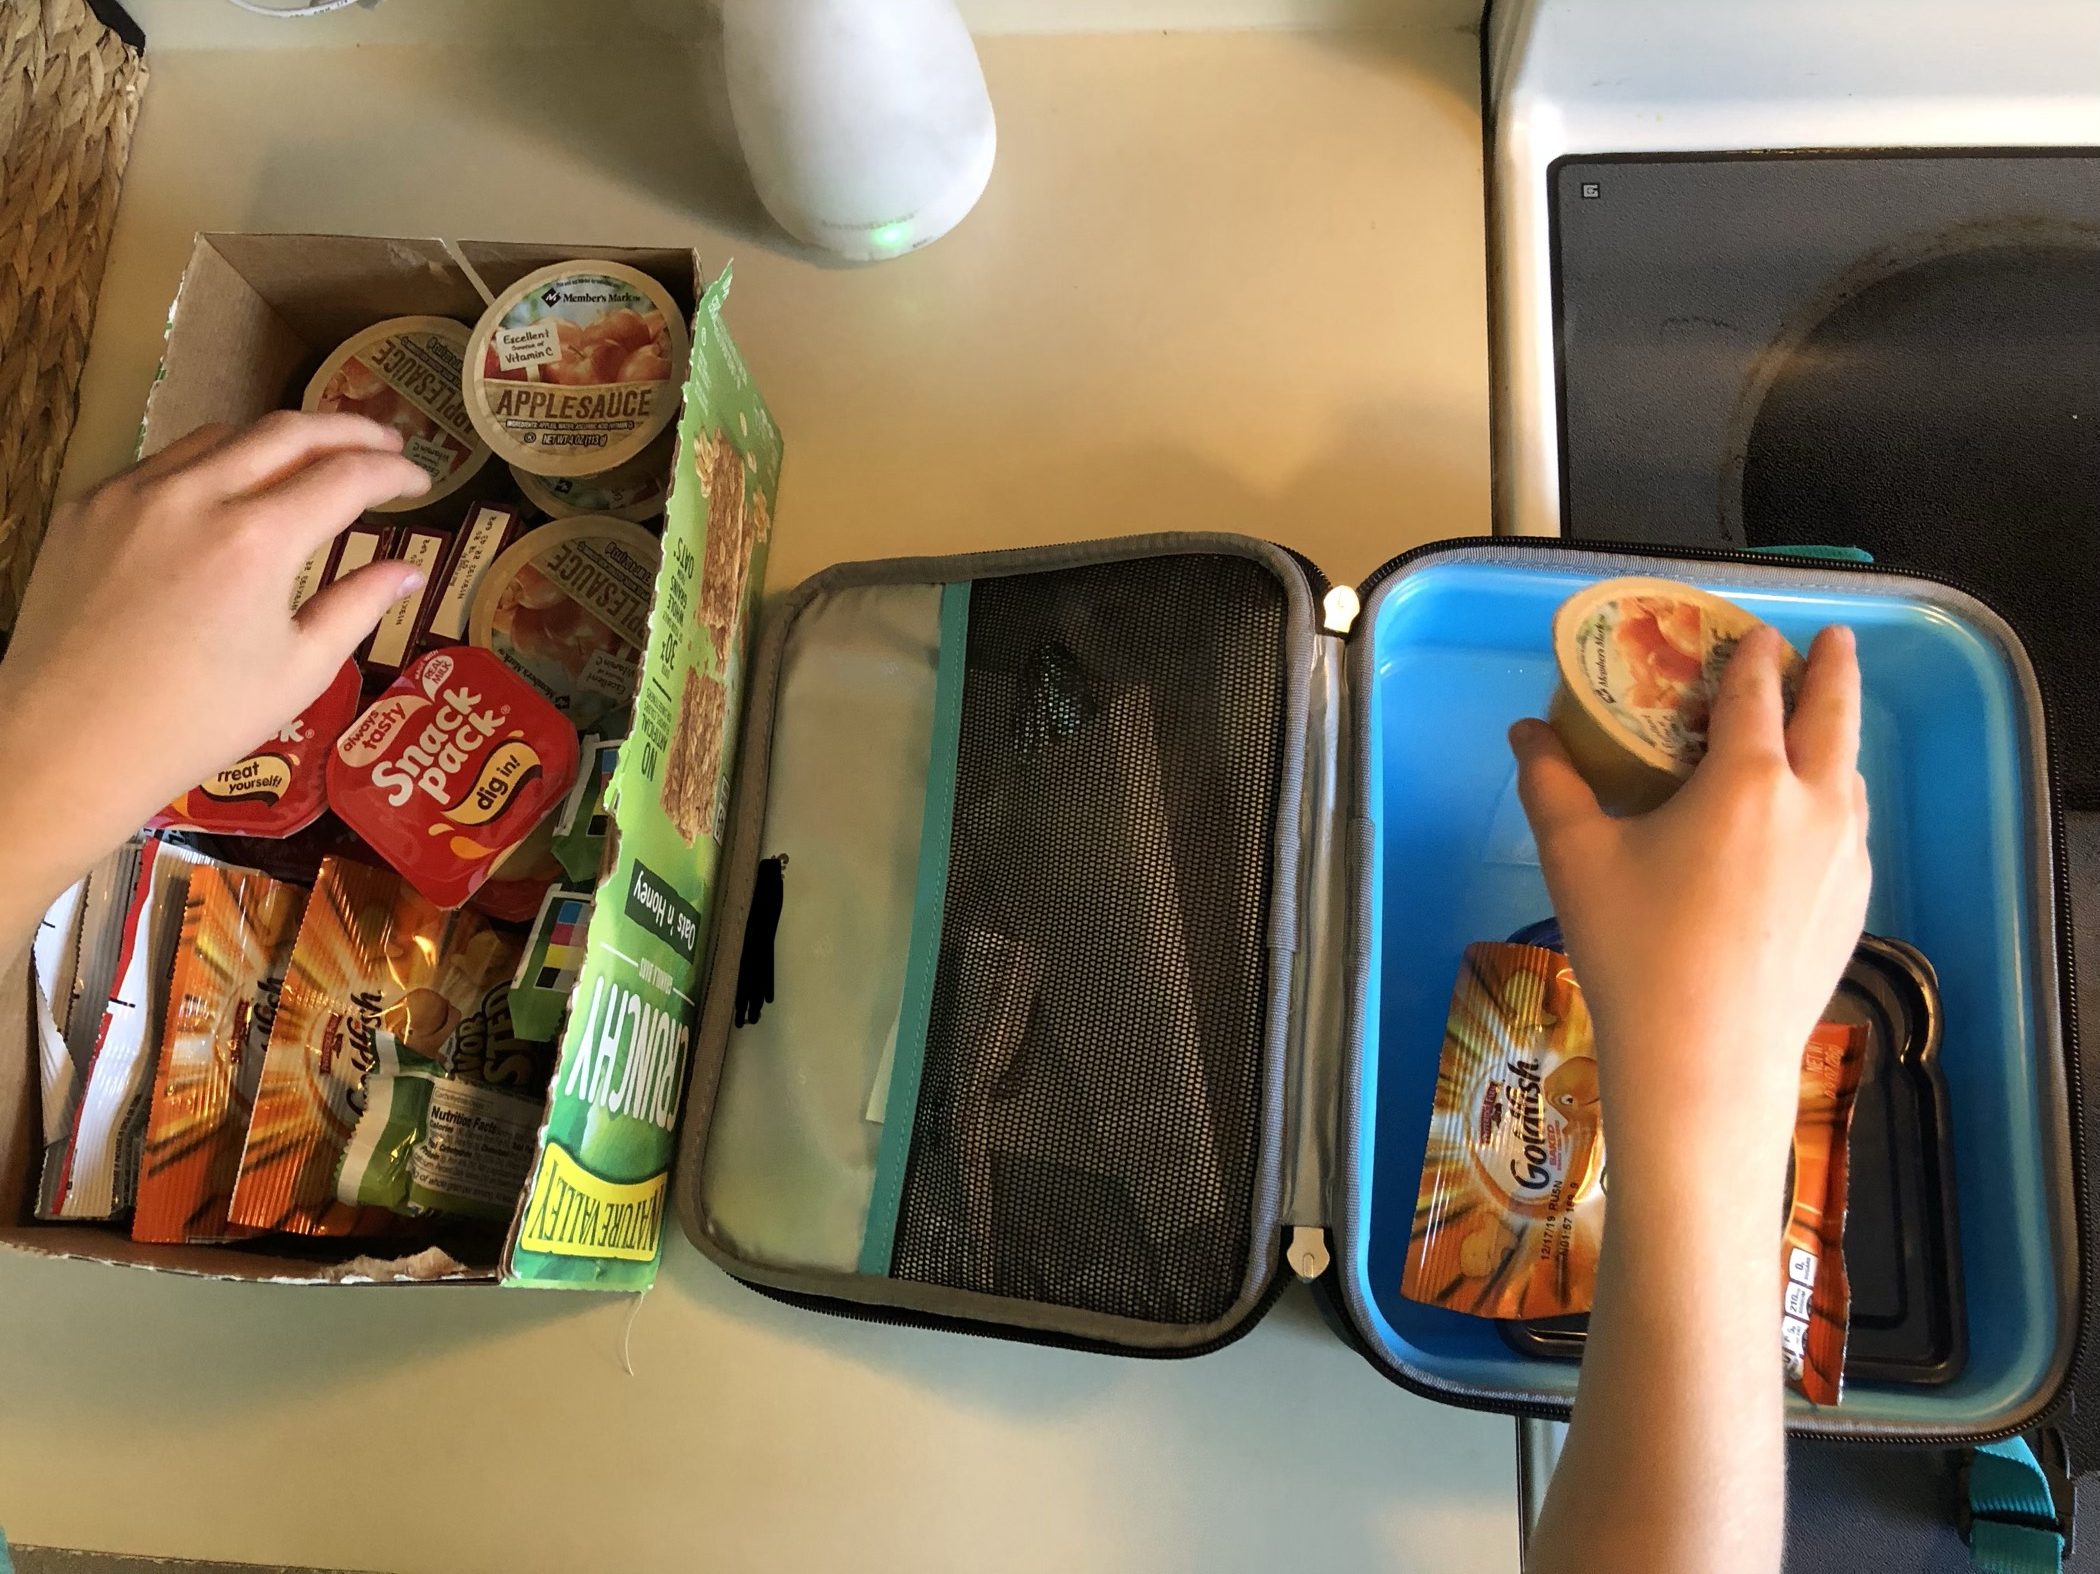
We also found that my son is very capable of making his own lunch. So normally the night before I get down the pantry lunch station and he goes to work making his lunch.
He puts food that is non perishable, spoon if he needs it, napkin, and sandwich container in his lunch box. This just gets set on the counter. Next, he will get anything from the fridge that he needs. This is usually his drink (water), produce, and yogurt.

There is a spot on the door where he puts all of these things so they are ready to just be grabbed. In the morning he will make his sandwich or grab some muffins from the freezer. Then everything goes in his lunch box, including an ice pack if needed.
By spending 5 minutes at night getting most everything prepared and ready for the next day he only needs to spend less then 5 minutes putting the finishing touches on his lunch.
There are times we are getting to bed later then expected so he asks me to get his lunch ready. I’m totally fine doing that. It means one less thing to do in the morning!
Bonus
I don’t know about you but I love bonuses. 🙂 In this section you will get a few more tips and tricks, money saving ideas, and more random thoughts from my head.
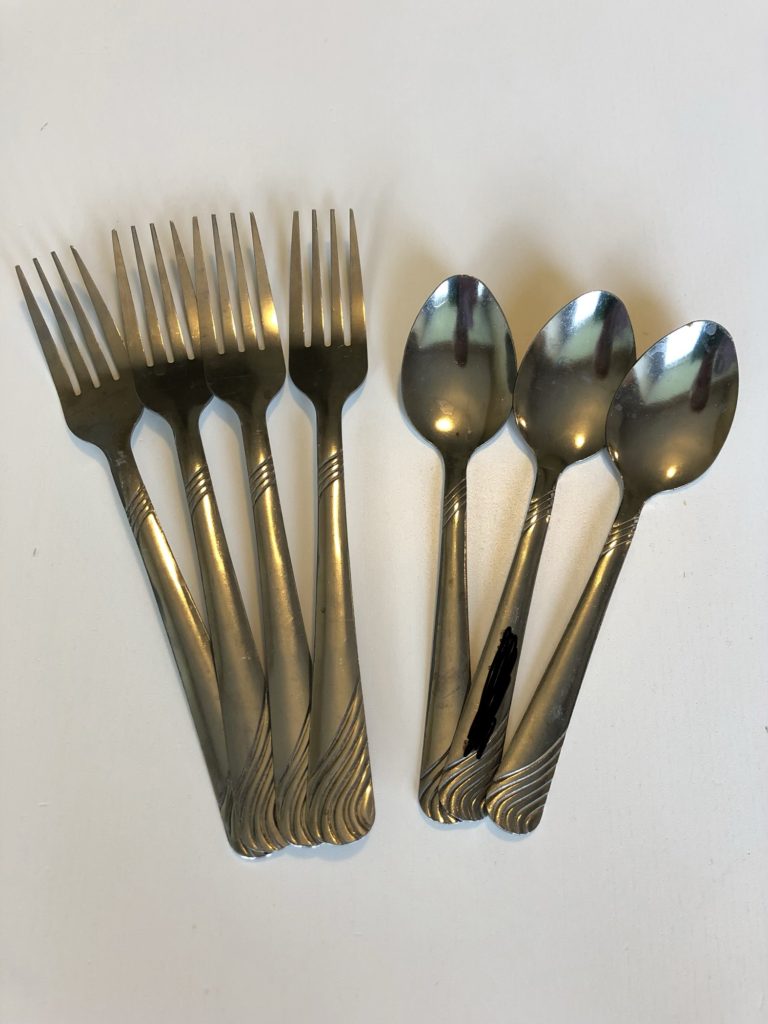
- I have anxiety about waste and throwing away so much…so, last year I bought super cheap silverware just for school lunches. I bought a 4 pack of spoons and forks from Walmart. They were less then $2 for each pack. We haven’t lost any and I don’t have to stress about throwing away more plastic. One was in the wash when I took the picture.
- Buy a lunch box that YOUR child likes not one that may save you a few bucks.
WeI made that mistake last year. Not this year! I bought one that he wanted. We haven’t had any fights about it or how hard it was to get things out of his lunch box from last year. This is the one we bought. I did find it from Khol’s while school shopping with a coupon. I hoping it will last for a few years.
- Buy small ice packs. Last year I bought a 3 pack for around $1 of thin square ice packs. We have been able to use them for many things besides packing lunches.
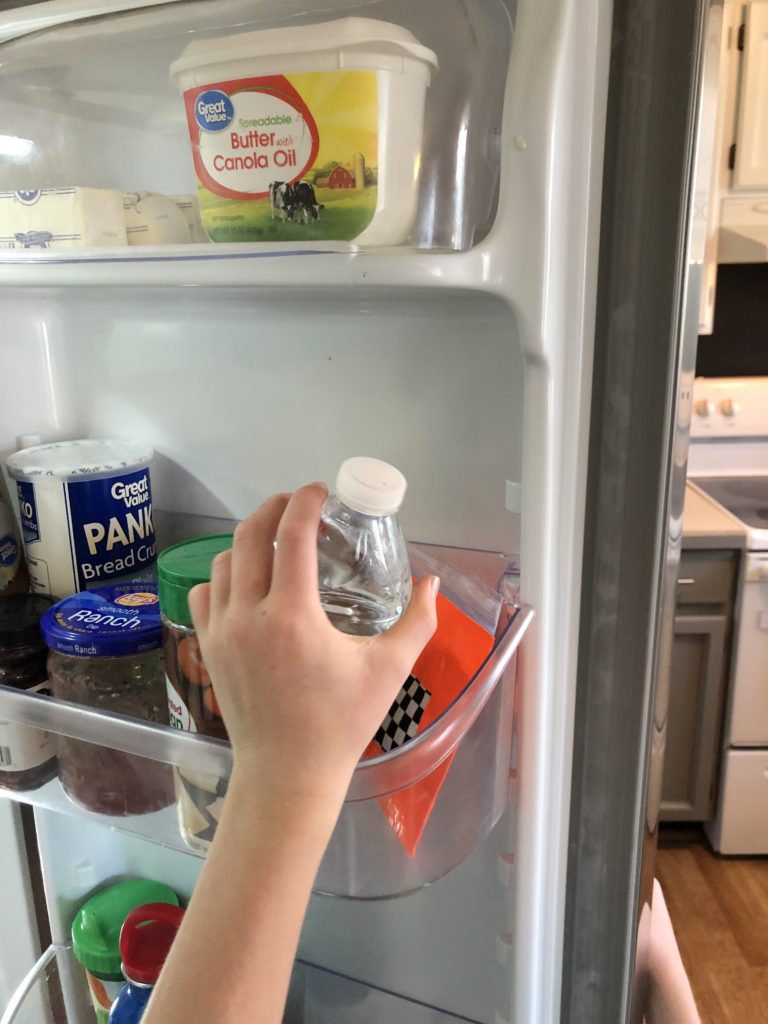
- Buy a reusable water bottle OR reuse small plastic water bottles. My son’s normal reusable water bottle doesn’t fit very well. In our food storage we had the mini plastic water bottles. It’s been over a week and he’s using the same one. I wrote his name on the lid. When he gets home from school it gets filled up and put back in the fridge. We really like these water bottles for our kids.
- Write your child’s name on everything.
- Buy things in bulk and put into your own bags. Two reasons I don’t love this: things could go stale and the amount of bags needed…. I would need to stock up on reusable bags. 🙂 Or use bags like these.
- The non perishable food you buy for lunches is only for school lunches, not for snacks or to eat at home for lunch.
- Look for sales on the things your kiddos love and stock up. You will learn when this works and when it won’t. Last year we bought 3 big boxes of gogurts on sale from Costco and froze two of them. My picky son did not like the texture once it was thawed. You live and learn.
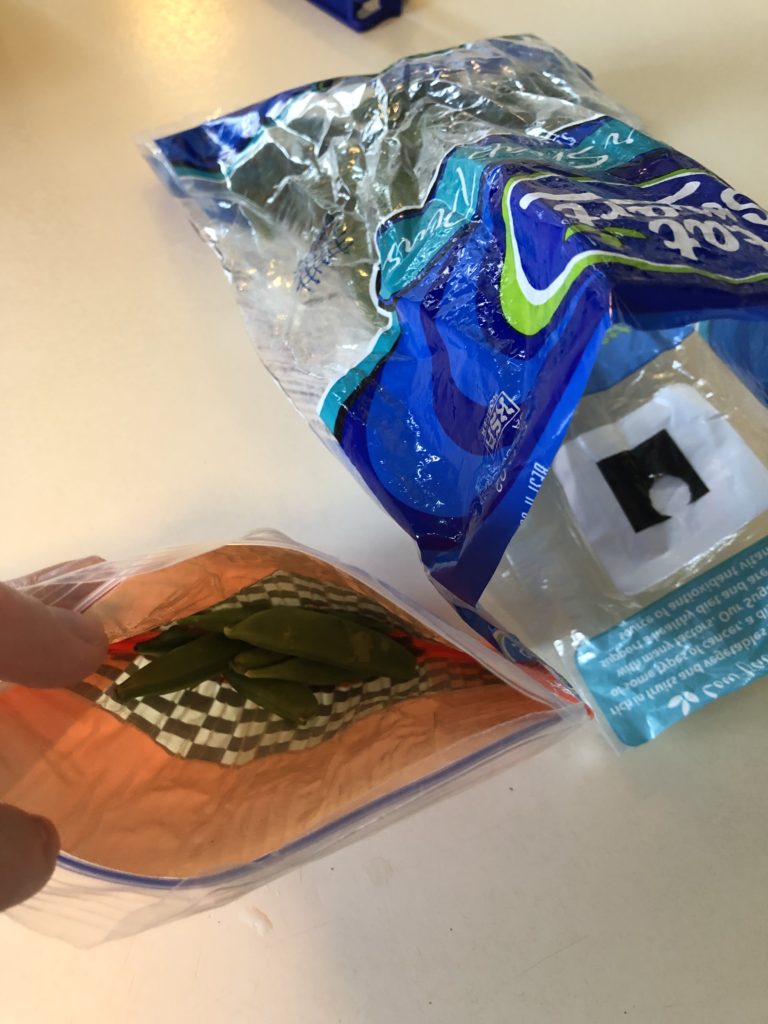
- Have a container of cut up veggies or fruits already prepared in the fridge that your child can pack quickly.
- Last year we used these containers to pack lunches in. Sometimes we packed a few at a time (minus the sandwich) so they were ready for the week. (These are just awesome to pack lunches for parks, traveling, lunches for kids or adults, meal prepping, etc. The different colored lids make it easy to know whose it is. We LOVE them!)
What have you done to make packing school lunches a breeze? Are there any tips I forgot? Or what are some things you learned that you are going to start implementing? Please send me pics of you school lunches stations! I love seeing them.
Happy school lunch making! May it cause less stress in your life now. 🙂