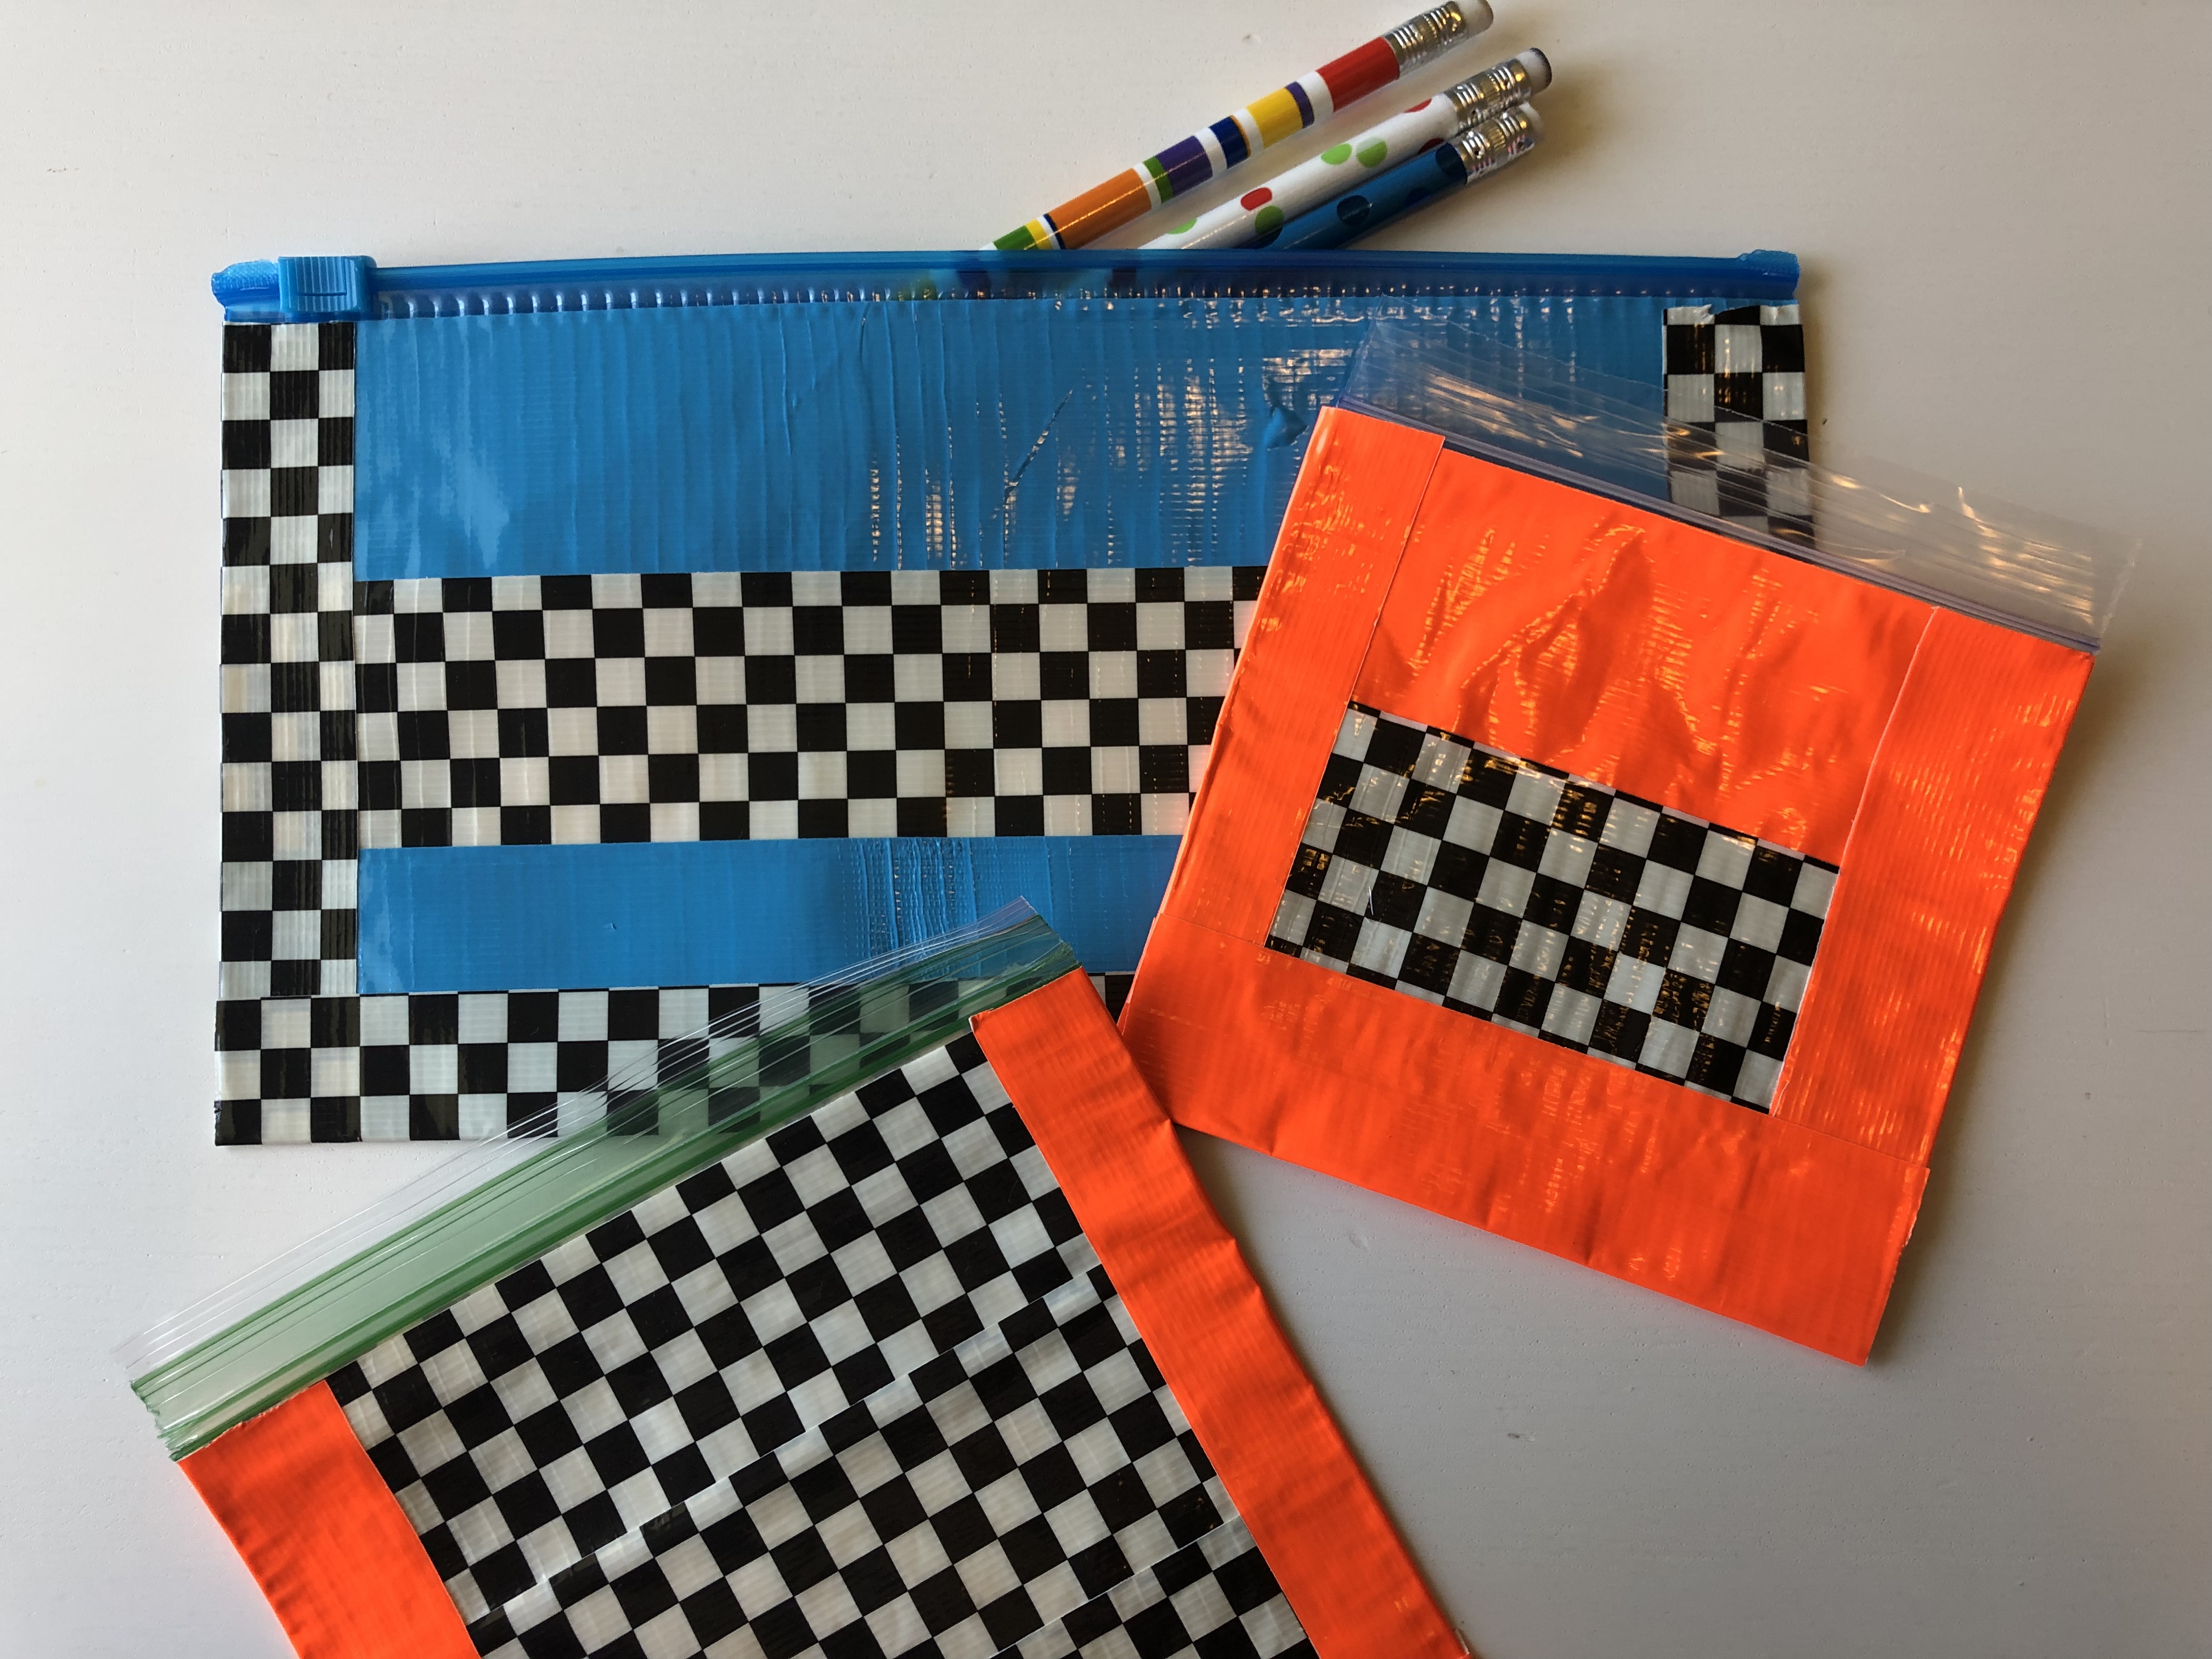
DIY Duct Tape Pencil Bags in 3 East Steps
These super cute, super fun duck tape pencil bags are a must do DIY craft before you head back to school. Just 3 supplies and 3 steps, fun for everyone!
The other night I did the most fun activity with a group of girls. This wasn’t my idea but I loved it too much to not share what we did. We made duct tape pencil bags.
It was easy, fun, and they turned out so darling. With very few supplies and time needed this would be the perfect quick back to school DIY project to do with your kids, yourself, or just about anyone.
This post contains affiliate links for your convenience. Click here to read my full disclosure policy. Thank you so much for helping to support A Red Hair Girl!!
Supplies Needed
- duct tape
- gallon plastic bags – the kind with the zipper closure
- scissors
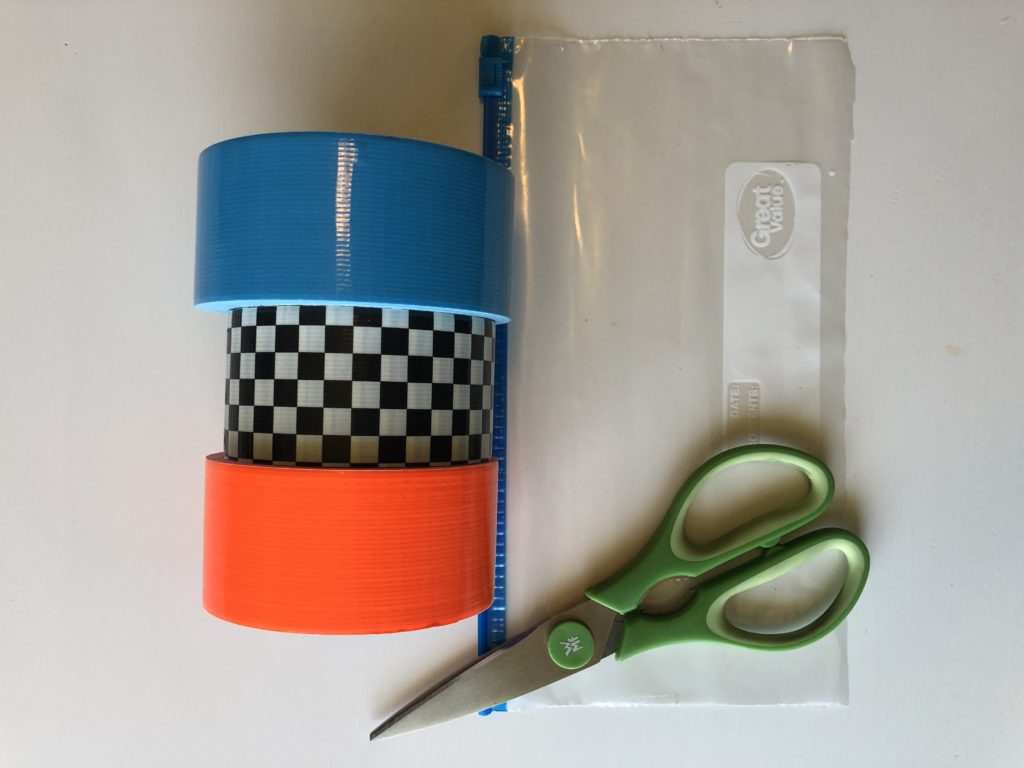
Yep, that’s right! Just three things are needed for these duct tape pencil bags. You are going to love them, and me. 🙂
Step 1: Cut the Plastic Bag
Grab one gallon plastic bag and decide how long you want to make your duct tape pencil bag. You cut simply cut the bottom off. You can get fancy and use a ruler to make sure it is straight.

Or you can free cut using your eyes. It doesn’t have to be perfect, just as straight as you can get it. I didn’t use a ruler. I knew I would get OCD on it. Haha!
Step 2: Cover The Front and Back with Duct Tape
This is the really fun part! Decide how you want to decorate your bag with duct tape. I typically used 1-2 different kinds of duct tape.
Amazon has a ton of fun duct tape. You will find something you love there. 🙂
First, start with the top, right under the opening. With a freshly cut edge of duct tape lay it on the edge of the plastic bag. I pull enough out of the duct tape to make the whole row before I start each row.
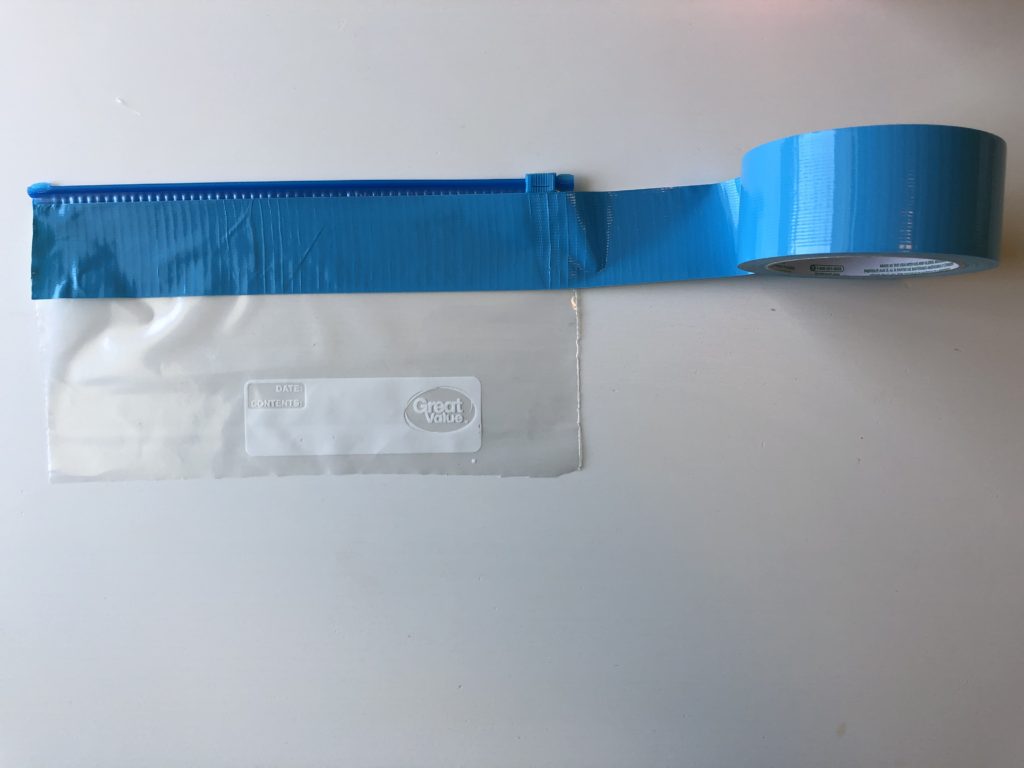
Next, press the duct tape down. Turn the bag over and cut the duct tape off right at the edge.
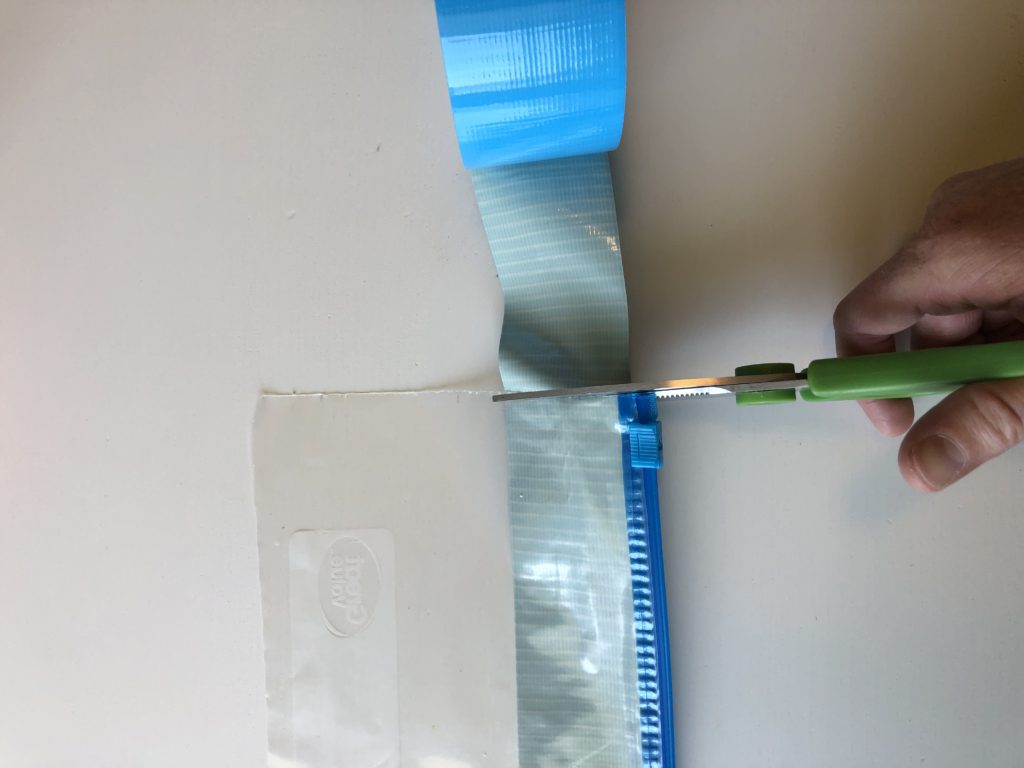
Then, continue all the way down until you get to the bottom. You will want to overlap each row just a bit so the whole bag gets covered.
Once you do one whole side turn it over and do the other side. Start from the top and work your way down.
Step 3: Cover the Sides and Bottom With Duct Tape
It doesn’t matter which one you do first. It’ll depend on how you want the finished duct tape pencil bag to look. I usually start on the sides first and finish with the bottom.
First, unroll a bit of duct tape so you have room to work with. Start at the top of on of the sides and place the edge half way on the bag and halfway off the bag.
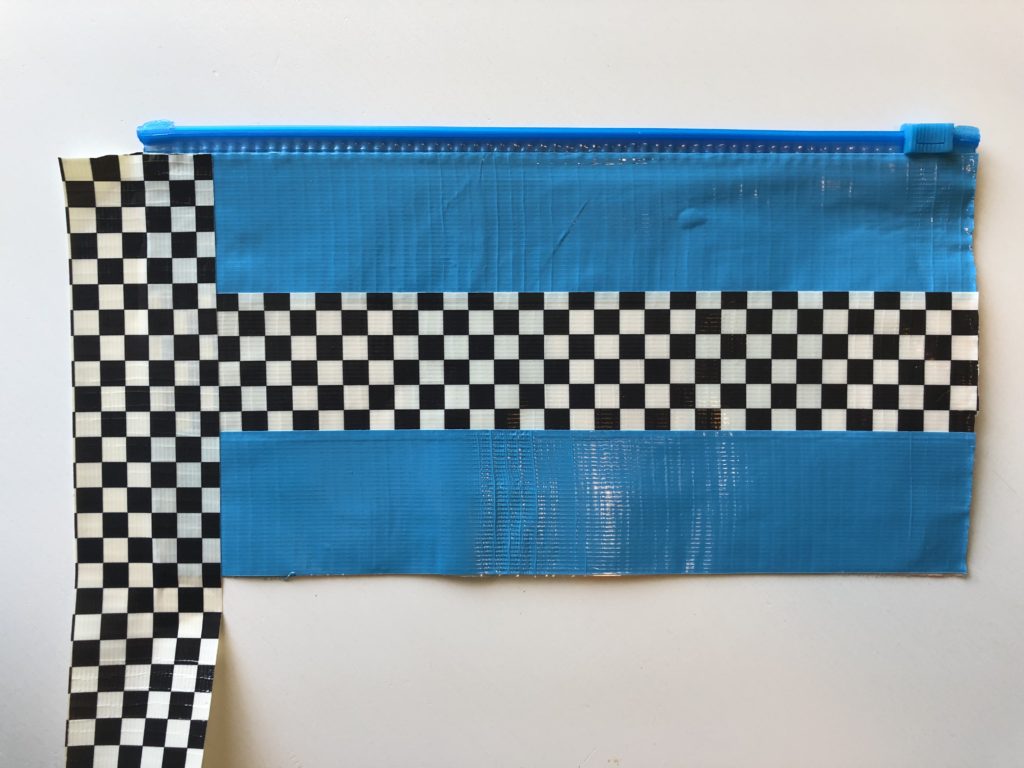
Next, press the duct tape down onto the bag. Turn it over and cut off the at the edge.

Then, press the extra duct tape onto the other side. The duct tape is going to wrap around the side and bottom edges.

Last, repeat this for the other side and the bottom.

That’s it! You are done! It was super easy right? 🙂

Besides this DIY project being quick and easy you can also make different size bags. Sweet!
I wanted to have sandwich bags, snack bags, and one big gallon size bag for each of my kiddos. I love the idea of reusable bags. In fact I have wanted to buy some but never got around to it.
I am also that person who reuses their plastic bags. A quick rinse and dry, then they are ready for another use. Do you do this?
Each of my 4 kiddos has a main duct tape color that is specific to them. Then I bought a few solid colors. This will make it easy to know which bag belongs to which kid.

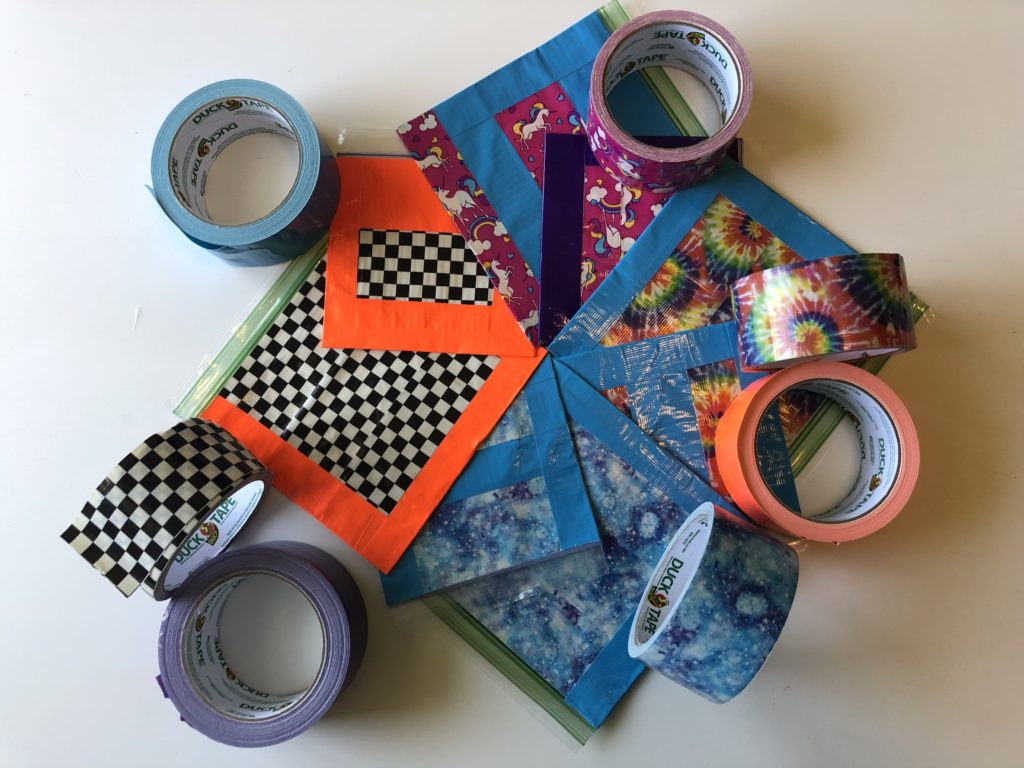
I got the idea to try clear duct tape after I got home and started making the bags. But, wouldn’t it be AWESOME to be able to see what’s in the food bags?
What’s my plan for the gallon size bags for each kiddo? So glad you asked… haha!
When we go on a road trip, vacation, or a day trip where I want my kids to have their own snacks to be in charge of I will put everything in their big gallon size bag.
Everyone will know whose bag it is. My kiddos will have all of their non-perishable foods. And the best part, I won’t have to turn around 1,357 times in the car. It will only 1,290 times… 😉

Not only can you make duct tape pencil bags you can make snack bags, sandwich bags, medium and large bags. The possibilities are endless.
Just a quick tip: you don’t need to cut the bottom of your bags off if you are making snack, sandwich or large bags.
Happy duct tape pencil bags making! As, always, I’d love to see what you make. 🙂
Xxx, Steph
Here is a bunch of fun duct tape that I found on Amazon.

