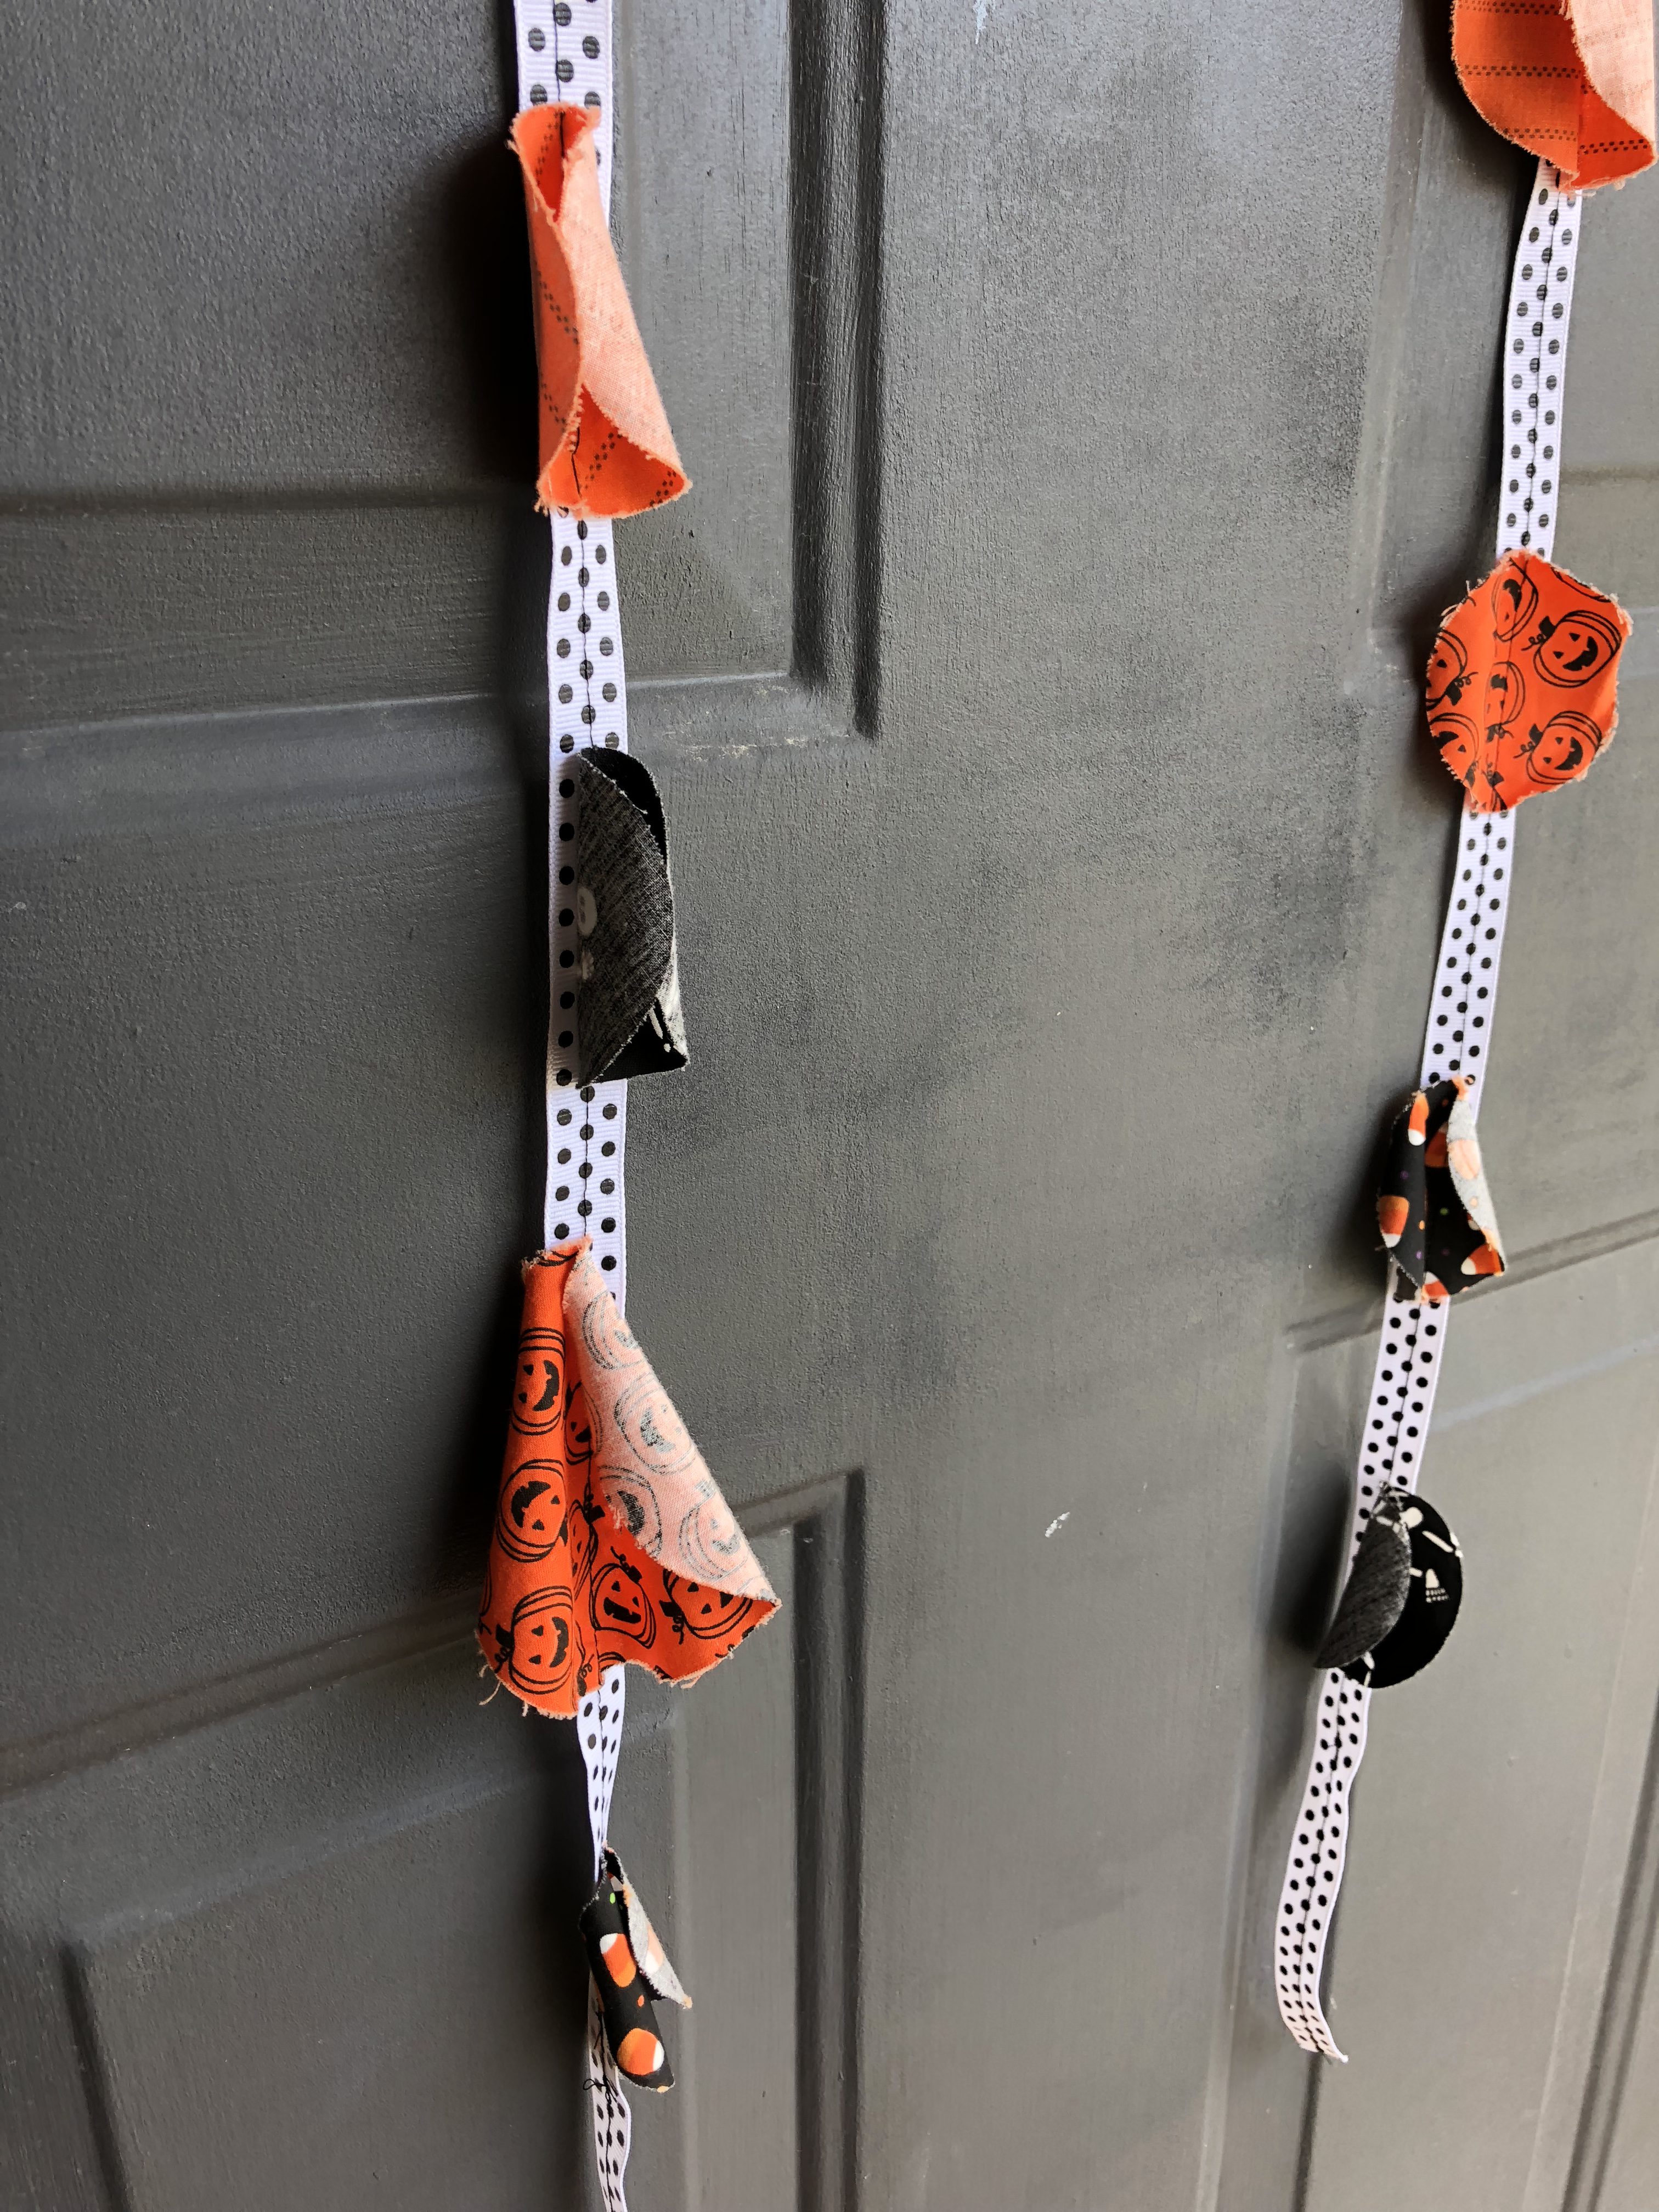
Halloween Fabric Garland
Who doesn’t want a darling, easy, Halloween fabric garland? You are going to fall in love with this fun fabric garland.
Years ago I saw a darling garland that my sister had for Valentine’s Day. It was felt hearts linked together. I thought to myself, I could make that. Then I looked at it again and realized nope, that wasn’t happening. It would have been super hard. I’m not into super hard crafts. I like easy, quick, and fun crafts. I guess you could call me the lazy crafter. Haha! I saw an idea to make a Halloween fabric garland that fit my criteria.
I was at a friend’s baby shower. The gal hosting had such cute decorations, all bee themed. Hanging and looped from her mantel was a bee fabric garland. I was loving that garland! This was a craft that I could totally copy. I wish I had taken a picture of her handy work. Or gotten her name so I can tell this little corner of the world it was her idea, not mine.
I was still teaching (pregnant with my first). I had access to die cuts at the district office. I took my adorable Halloween fabric over there and found what I needed. I was looking for circle die cuts. After I found 3 different size circles I went to work.

I didn’t want to spend FOREVER cutting circles out of fabric. I was going to use the die cuts to do the heavy cutting… 🙂
The die cuts did a pretty good job. I did have to go through many of the circles and do a few snips to get them out of the rest of the fabric. However, it did not take very long. In no time I have 3 stacks of different size circles.
If you want to make a super cute Halloween fabric garland grab your stuff and let’s get started.
Supplies
- fabric of your choosing
- scissors
- circle forms or die cut
- sewing machine
- thread
- iron
- Ribbon (optional)
Directions
- You can prewash your fabric if you want, but it is not necessary with this project.
- Lay out your fabric on a hard surface. Trace your circle(s) forms onto the fabric. Cut out each circle (you might want to watch a movie 😉 ). Or use the die cuts to cut out circles in your fabric.

- Iron each circle to make sure it is flat.
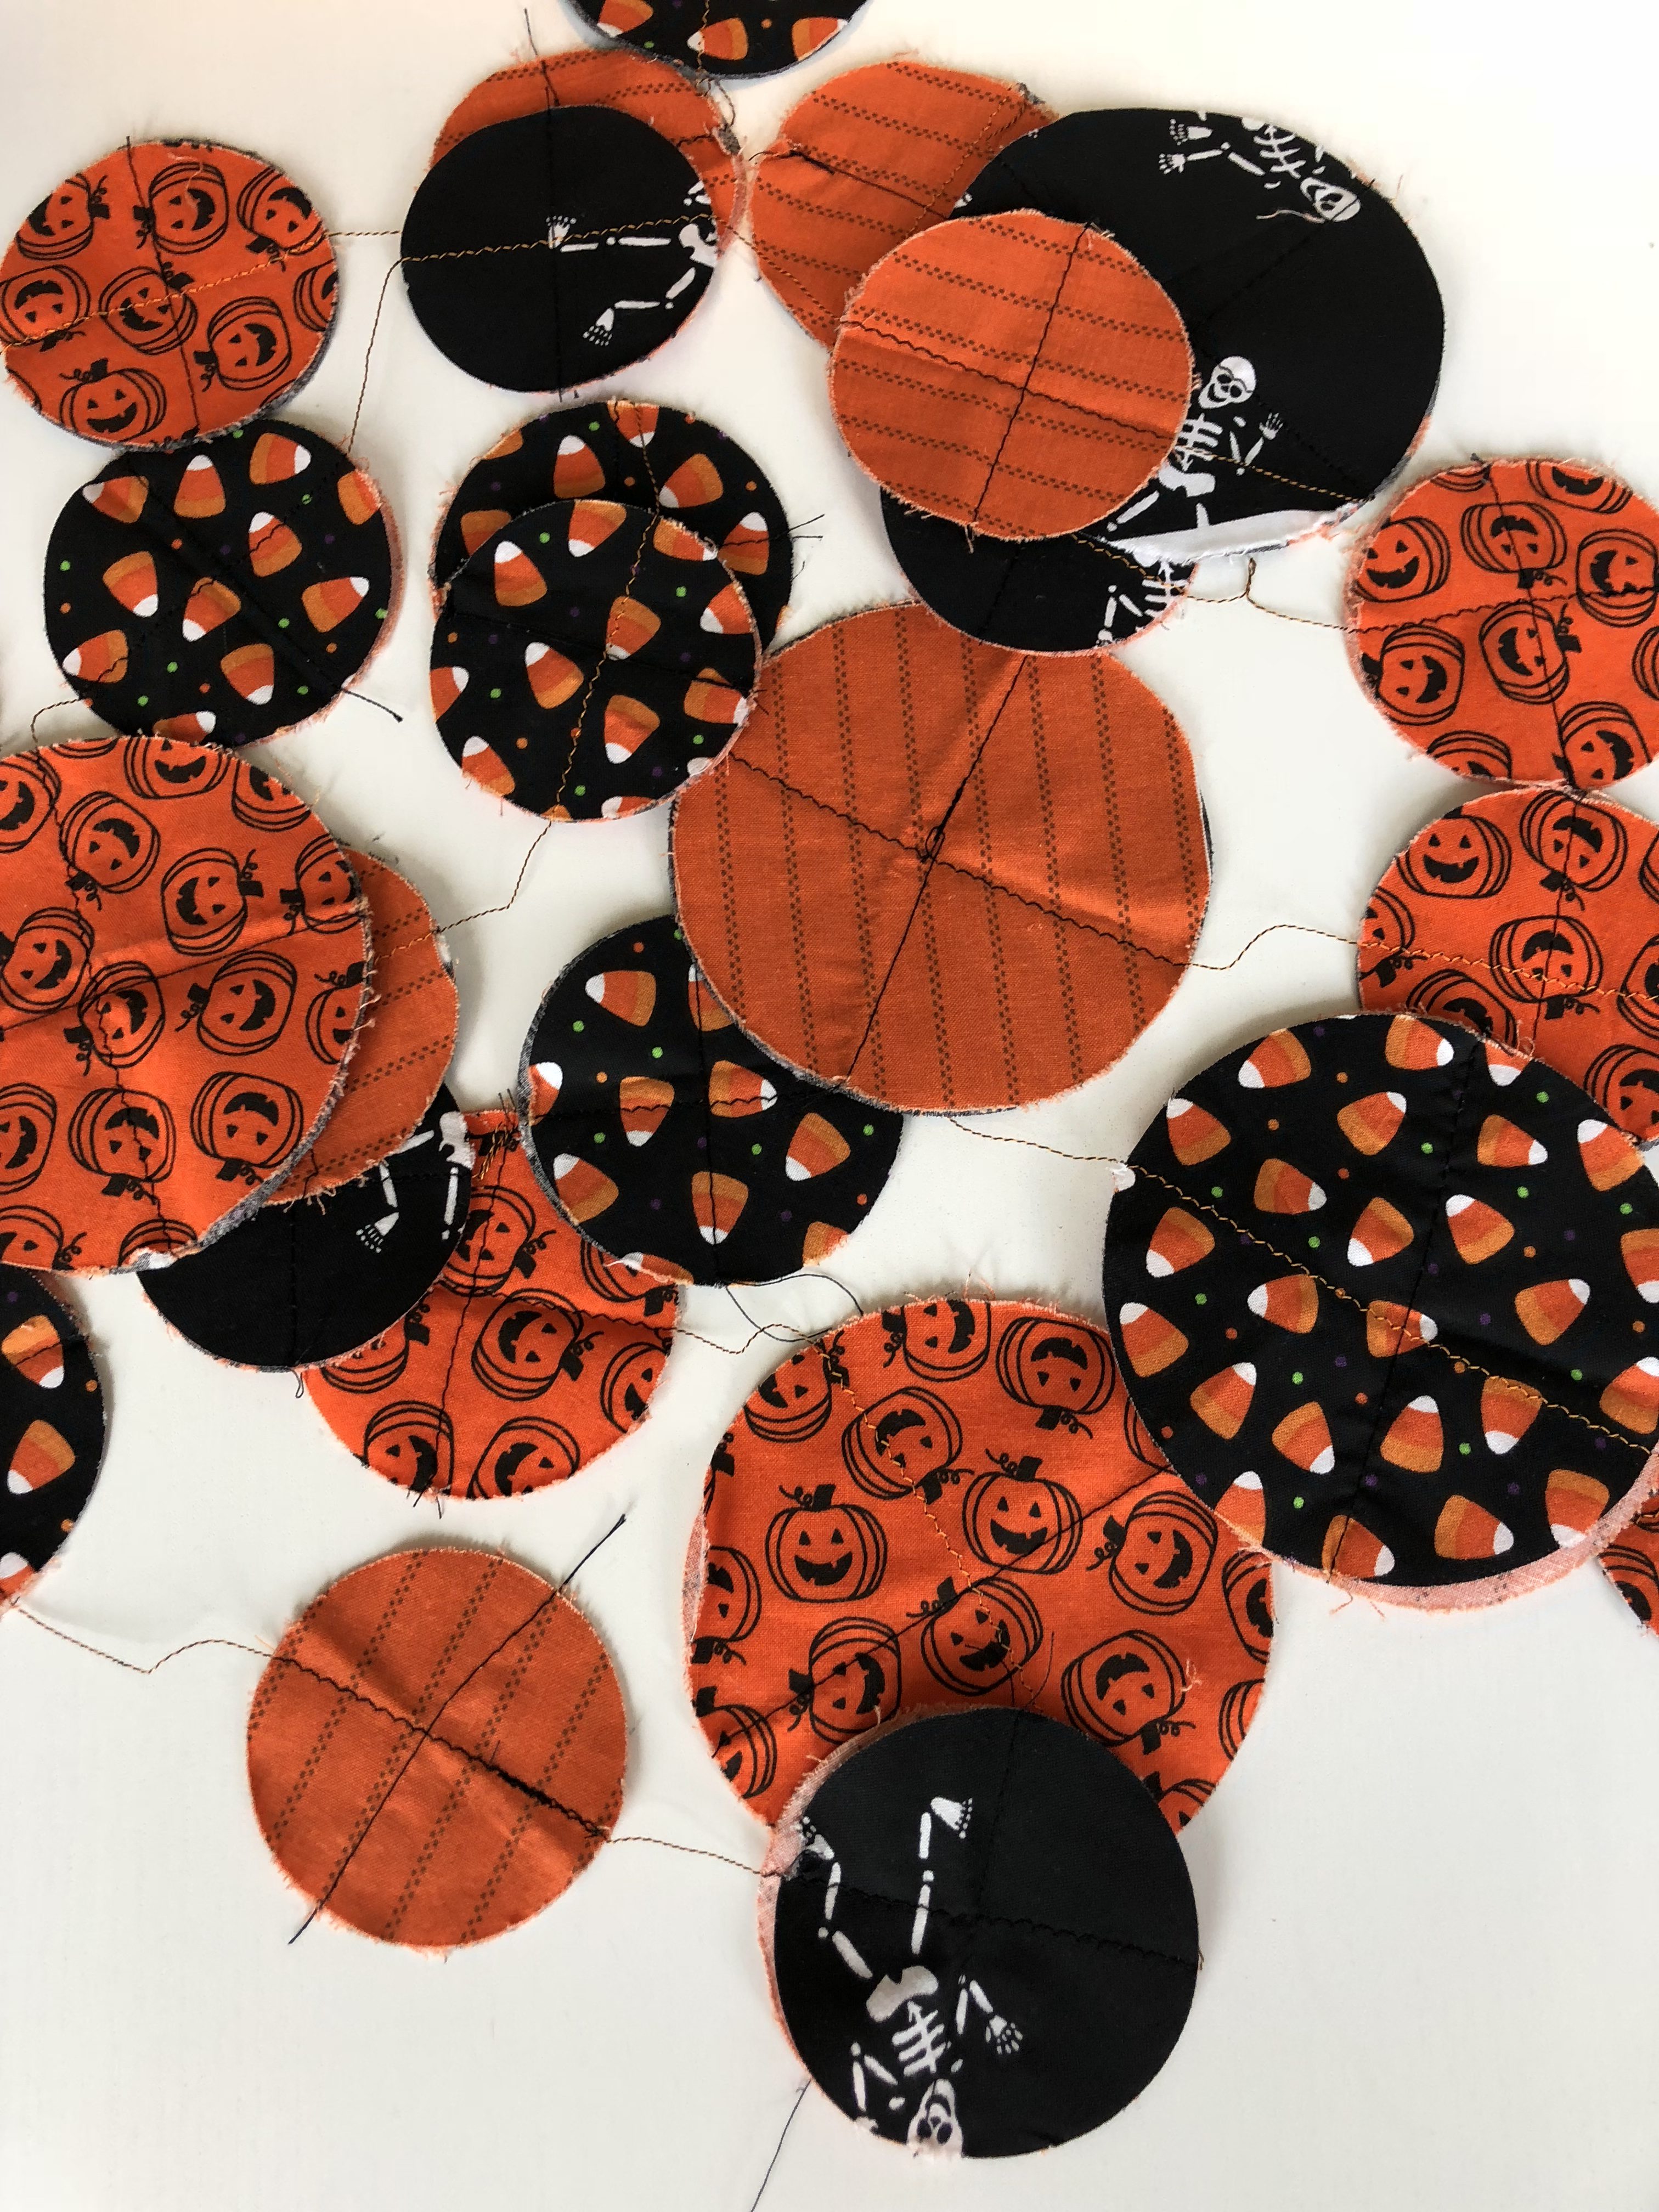
- Using the sewing machine sew the circles to make a garland. You can put two circles of the same size back to back so both sides have cute fabric showing.
 You can sew the circles as close or far away as you want. When you start sewing begin at the end of a circle, sew through the middle of the circle.
  When you get to the end keep sewing to make the space between the circle.
  When you want to add another circle just put it under the sewing machine foot and keep sewing.
 - You can make the garland as long or short as you want.
We had the unfortunate mouse that lived in our Halloween boxes. That was a fun surprise last year… We had to throw a lot of things out. I was able to wash some things and save them. The Halloween fabric garland went into the wash. It came out in a knotted mess. The only way to save it was to cut it apart. When I sewed the garland again I was able to sew down the other side to make an x. This will help keep the fabric pieces together. It ended up being a good thing. 
If you prefer you can use ribbon to sew the circles onto instead of thread. Instead of step 4 you would sew a circle onto the ribbon whenever your little heart desires. 🙂
You are done! Yay! You now have a darling, one of a kind, Halloween fabric garland. I hope you had fun sewing and crafting with me. Until the next easy, quick, and fun craft.
Xoxo
Steph (the lazy crafter)


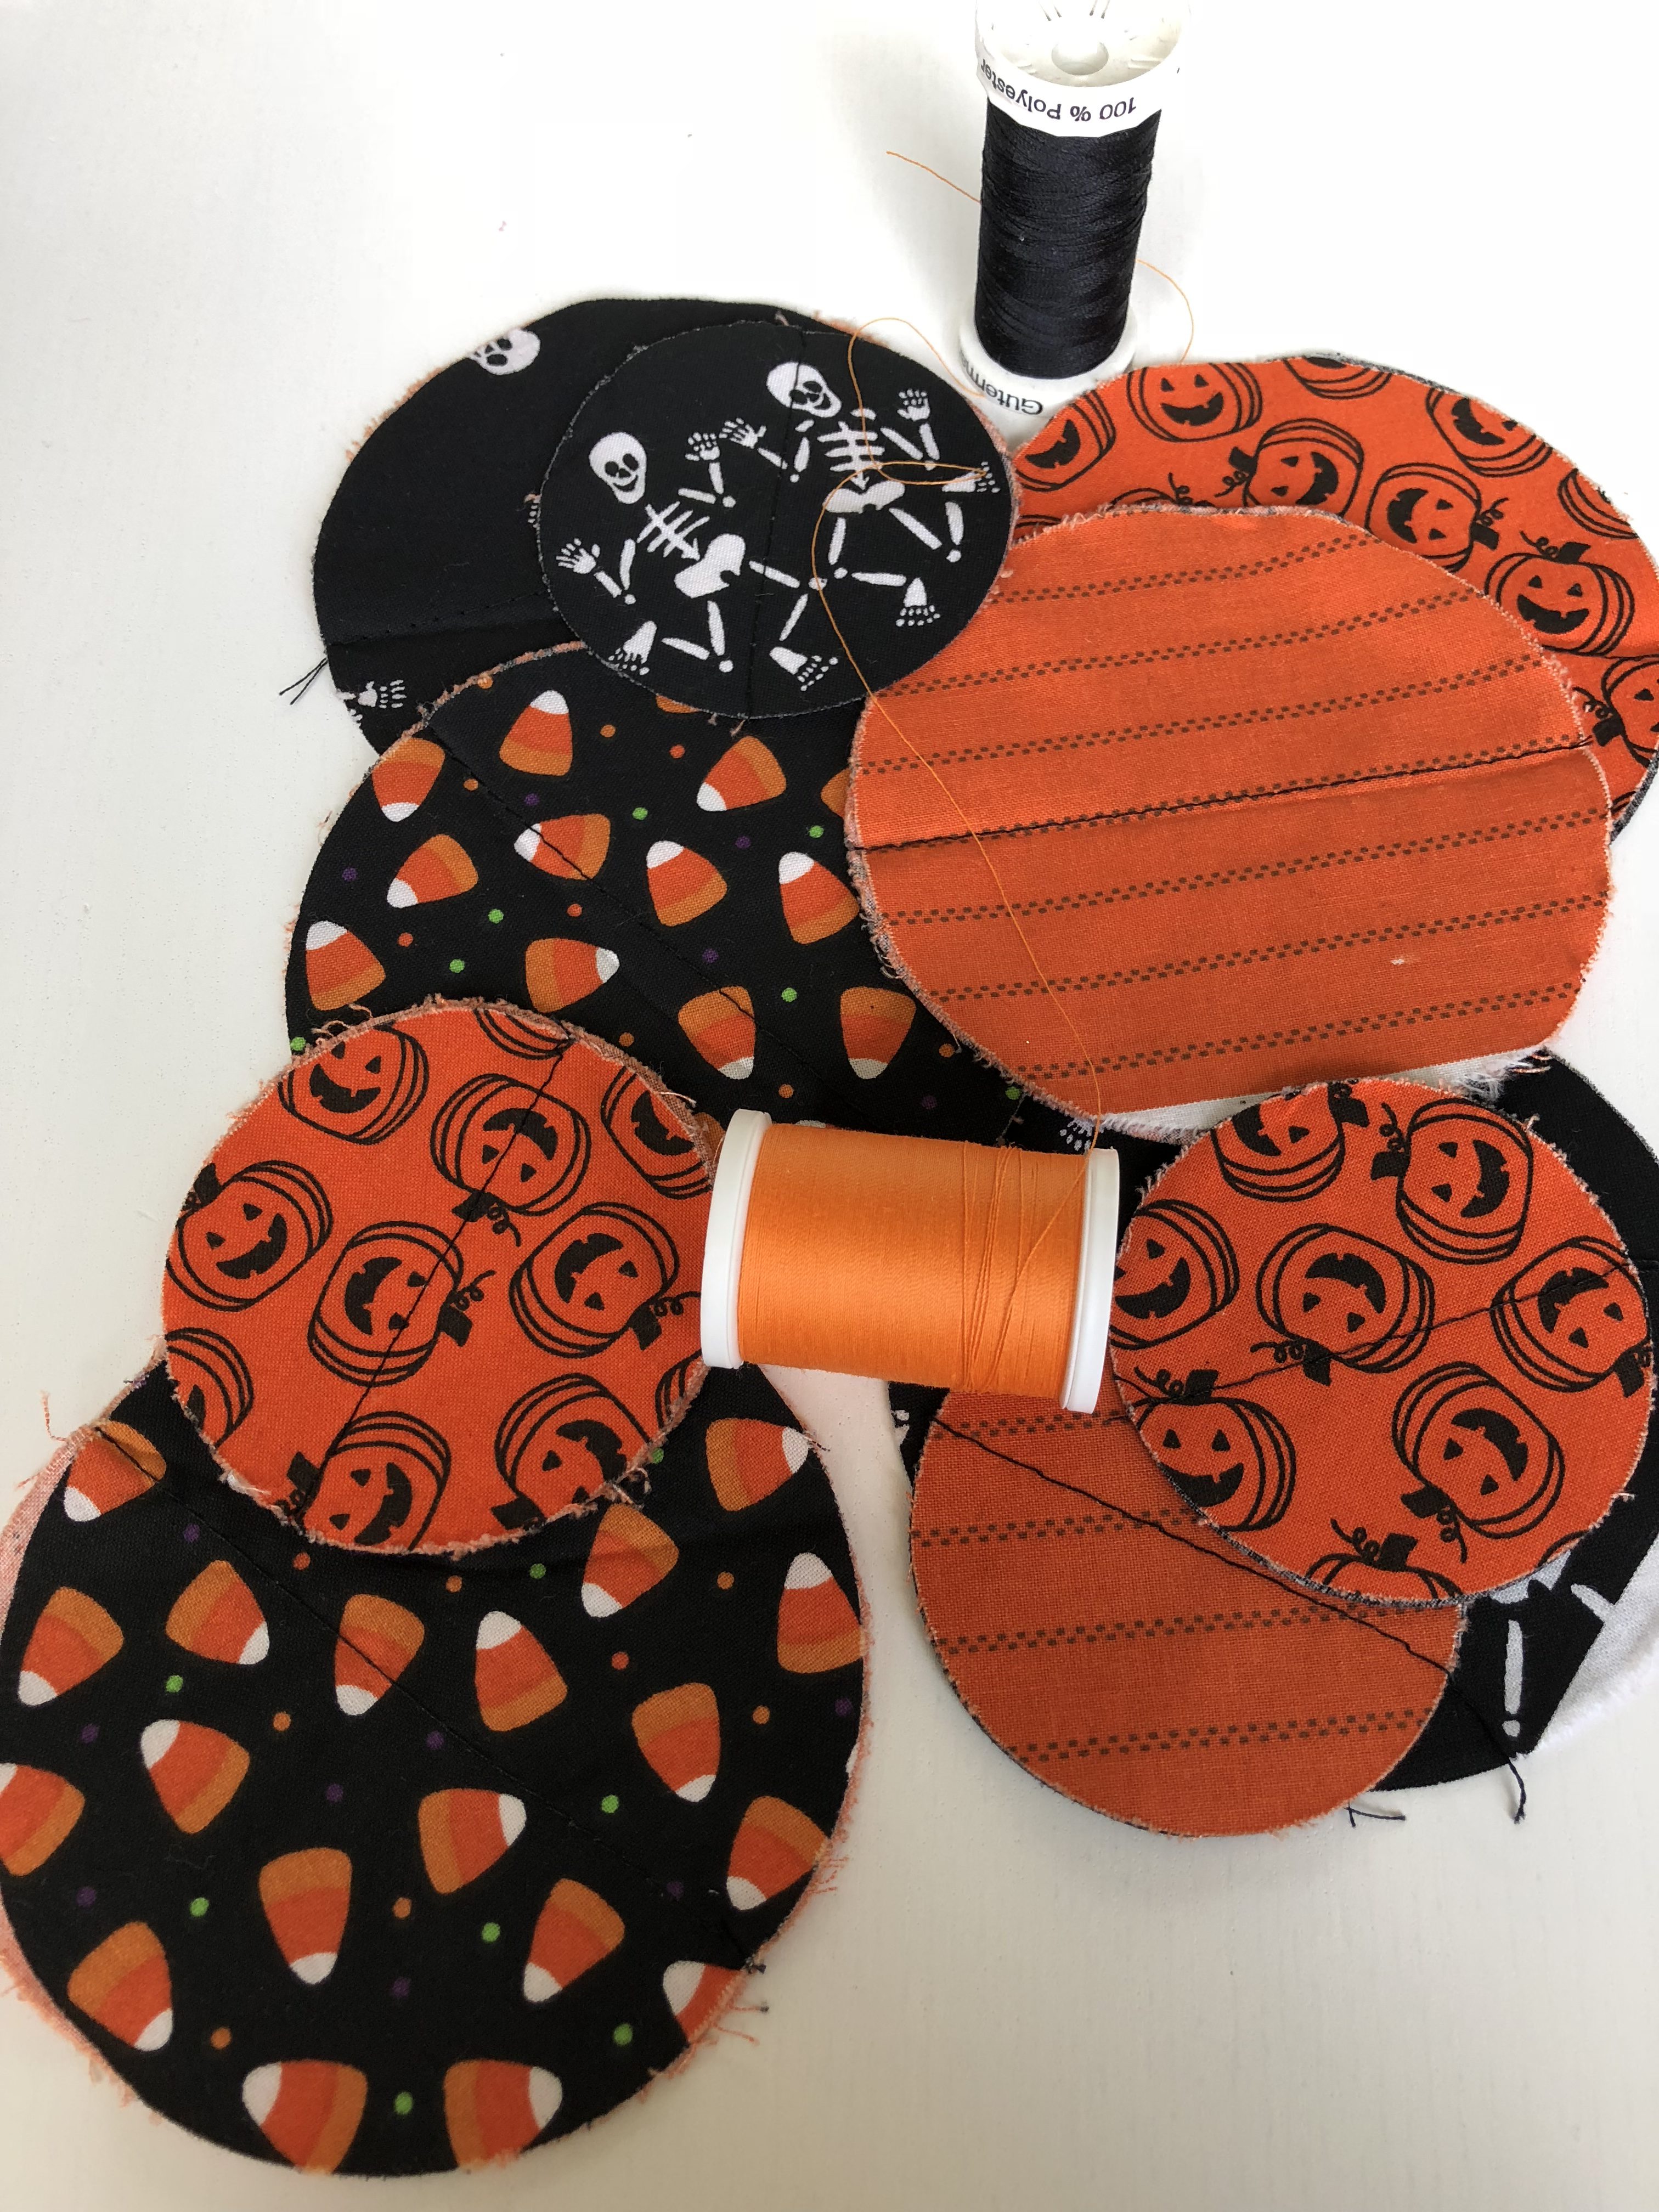
 You can sew the circles as close or far away as you want. When you start sewing begin at the end of a circle, sew through the middle of the circle.
  When you get to the end keep sewing to make the space between the circle.
  When you want to add another circle just put it under the sewing machine foot and keep sewing.
