6 Steps to Declutter Your Master Bathroom
Here are 6 steps you can follow to declutter your master bathroom. Wait! These steps can be used to declutter your bathroom, any one of them!
Hollaaaa!!! I started and finished my master bathroom decluttered, dejunked, and degrossified! I know I just made some words up, but I don’t even care. I’m super excited! I love going into my bathroom. Keep reading to get 6 steps to declutter your bathroom.

Okay, let’s get to the fun part. Getting to work! I picked a Monday that Eddy was off of work. That meant that I would have two full days (if needed) to work on the bathroom. (He always has Tuesdays off.)
I wanted to make sure I was able to start and finish this space. I knew it would light a fire and make it easier to keep going on the rest of the house.
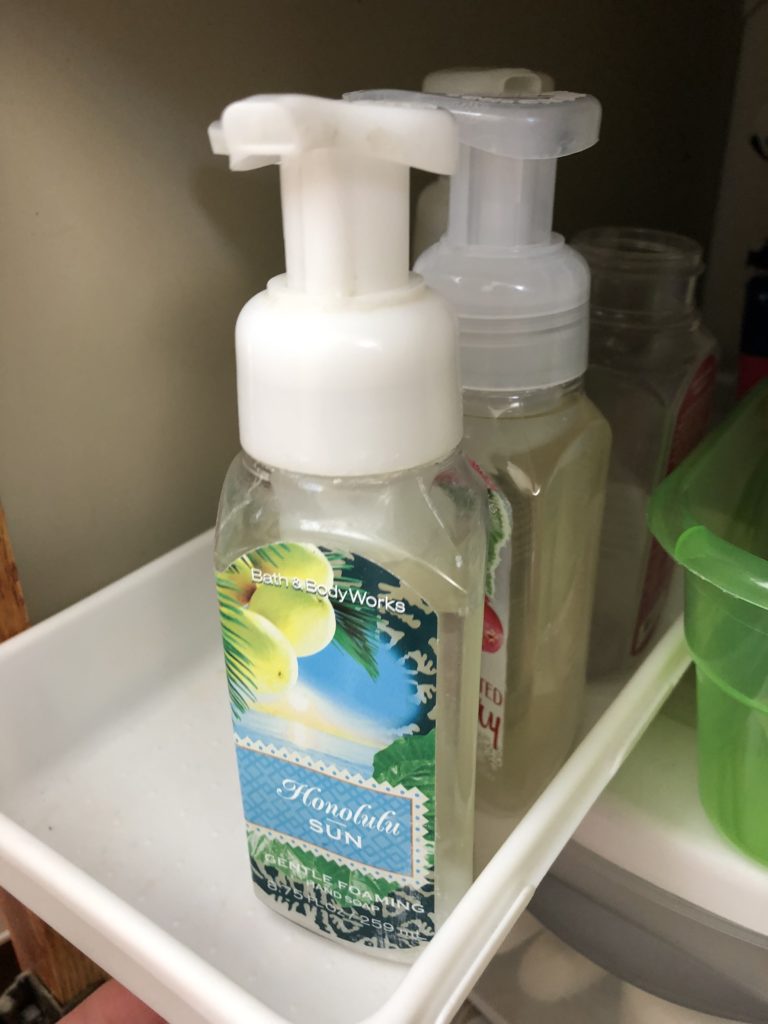
Step #1: Take Everything Out of Your Bathroom
I just may be a little nerdy and weird, but who isn’t? 😉 I cranked some music and was so stinking excited to get started. I took everything out of the bathroom. I’m talking EVERYTHING!
Empty every drawer, cupboard, nook, and cranny. Check the top of cupboards, behind toilets, everything in the shower. Get it ALL out of there!

Here’s a secret tip for you… Lay some towels down on the floor or bed. Then as you take things out of the bathroom that may leak or are wet from the shower you will have a safe place to keep things while you go onto step number 2.
Step #2: Clean, Clean, and Clean
This was the part that took me the longest. And it was gross! I consider myself to be a pretty clean person, but man oh man! Some things were nasty!
My bathroom is the cleanest it has ever been since we moved in. It feels great. I would almost eat in there. (Anyone else think eating in a bathroom is totally gross?)
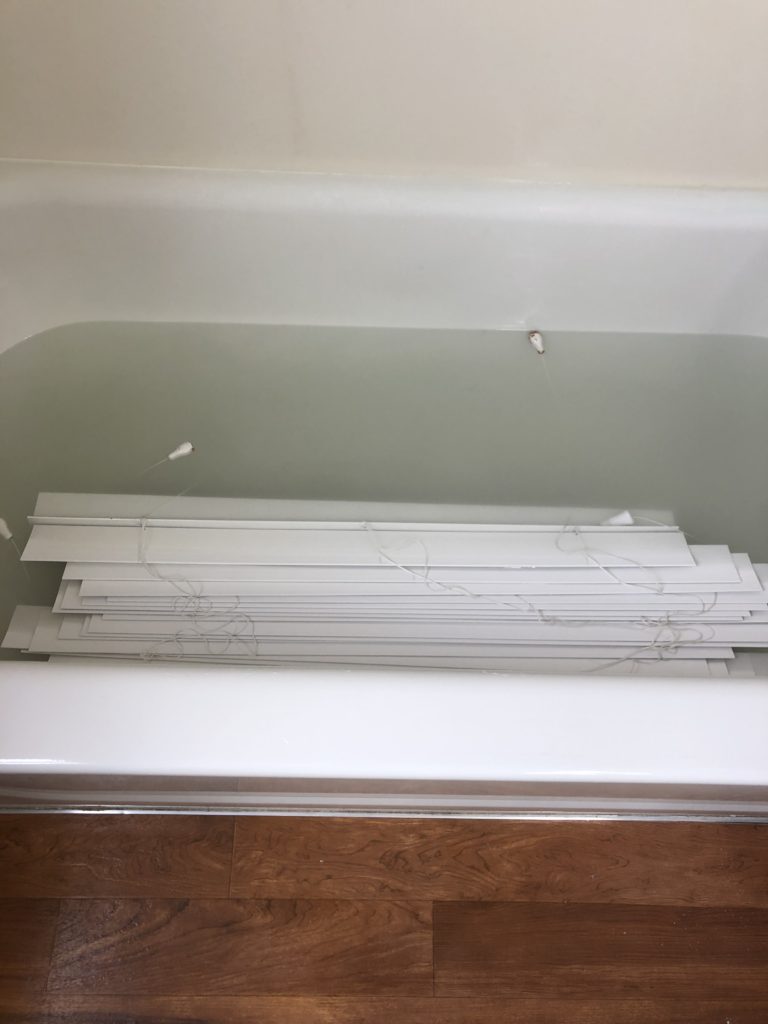
I even cleaned the plunger. That’s how much I cleaned. I soaked the blinds in the bathtub with cleaner. Then I had to scrub each blind to get the filth off.
Doing a real good deep clean was so satisfying. I really wanted to keep going on other spaces. But I needed to keep going in my bathroom, so onto step #3.
Step#3: Lay Everything Out and Decide What to Keep
There are many ways to go about this step. For me it made sense to have everything out where I could see it. Then I started to group things into like piles. Who knew I had so many lip glosses!
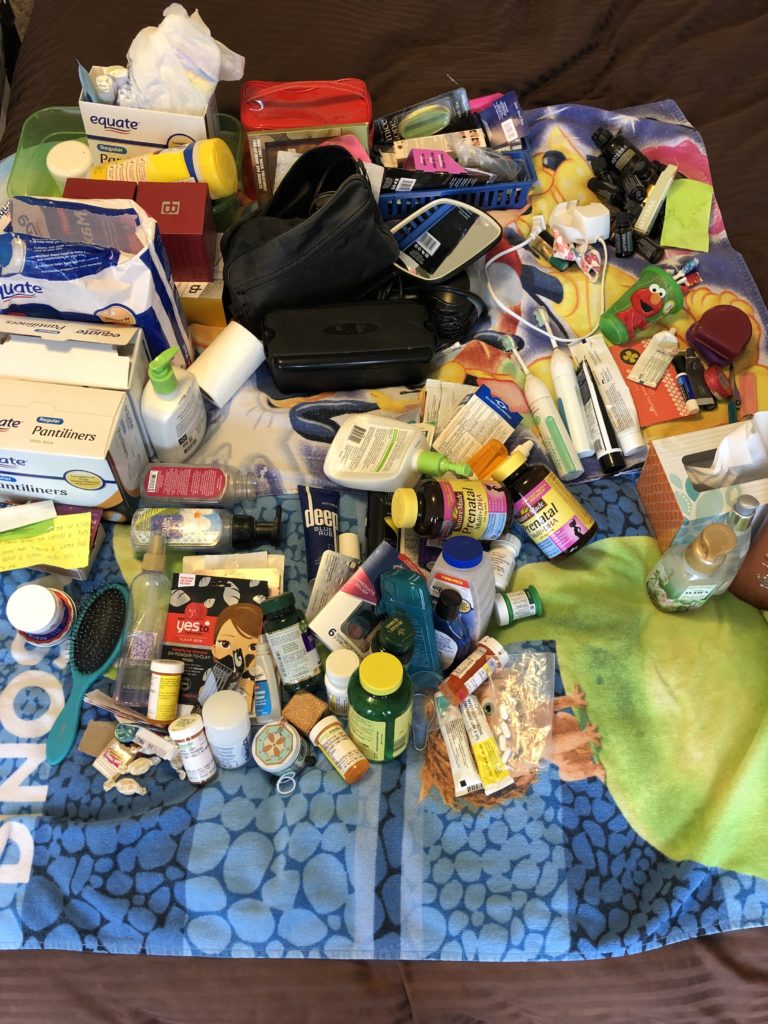
As I was going through things I had a bag for recycle, a bag for trash, and a pile to give away. Can I just say how awesome it was to have so much trash and recycle leaving my bathroom?!
After I knew what I wanted to keep I went onto step #4.
Step #4: Everything Needs a Home
I love when things have a home and get put back into its home. I was trying to spend as little money as possible so I went around the house looking for containers to use in the drawers and cupboards to hold things.
One problem I had in the past was my bobby pins would fall out of the container (duh! It had holes in the sides…) that was suppose to hold them. They were consistently traveling to the back of the drawer. SO annoying!

This time I got smarter and found containers that would properly hold things. I moved some things around to make more sense and to get things higher and away from my kids.
Minus towels we have everything we might need in our bathroom. A small change was moving extra hand soap under the sink. It wasn’t far away before but now I can just replace the empty bottle with a full one and I don’t need to leave the room. #lazy… 🙂
Step #5: Add Decorative Items
At certain times in my life I haven’t really cared how some spaces have looked. And for some spaces I still don’t care (as long as it is functional). However, I was ready to pretty up this space.
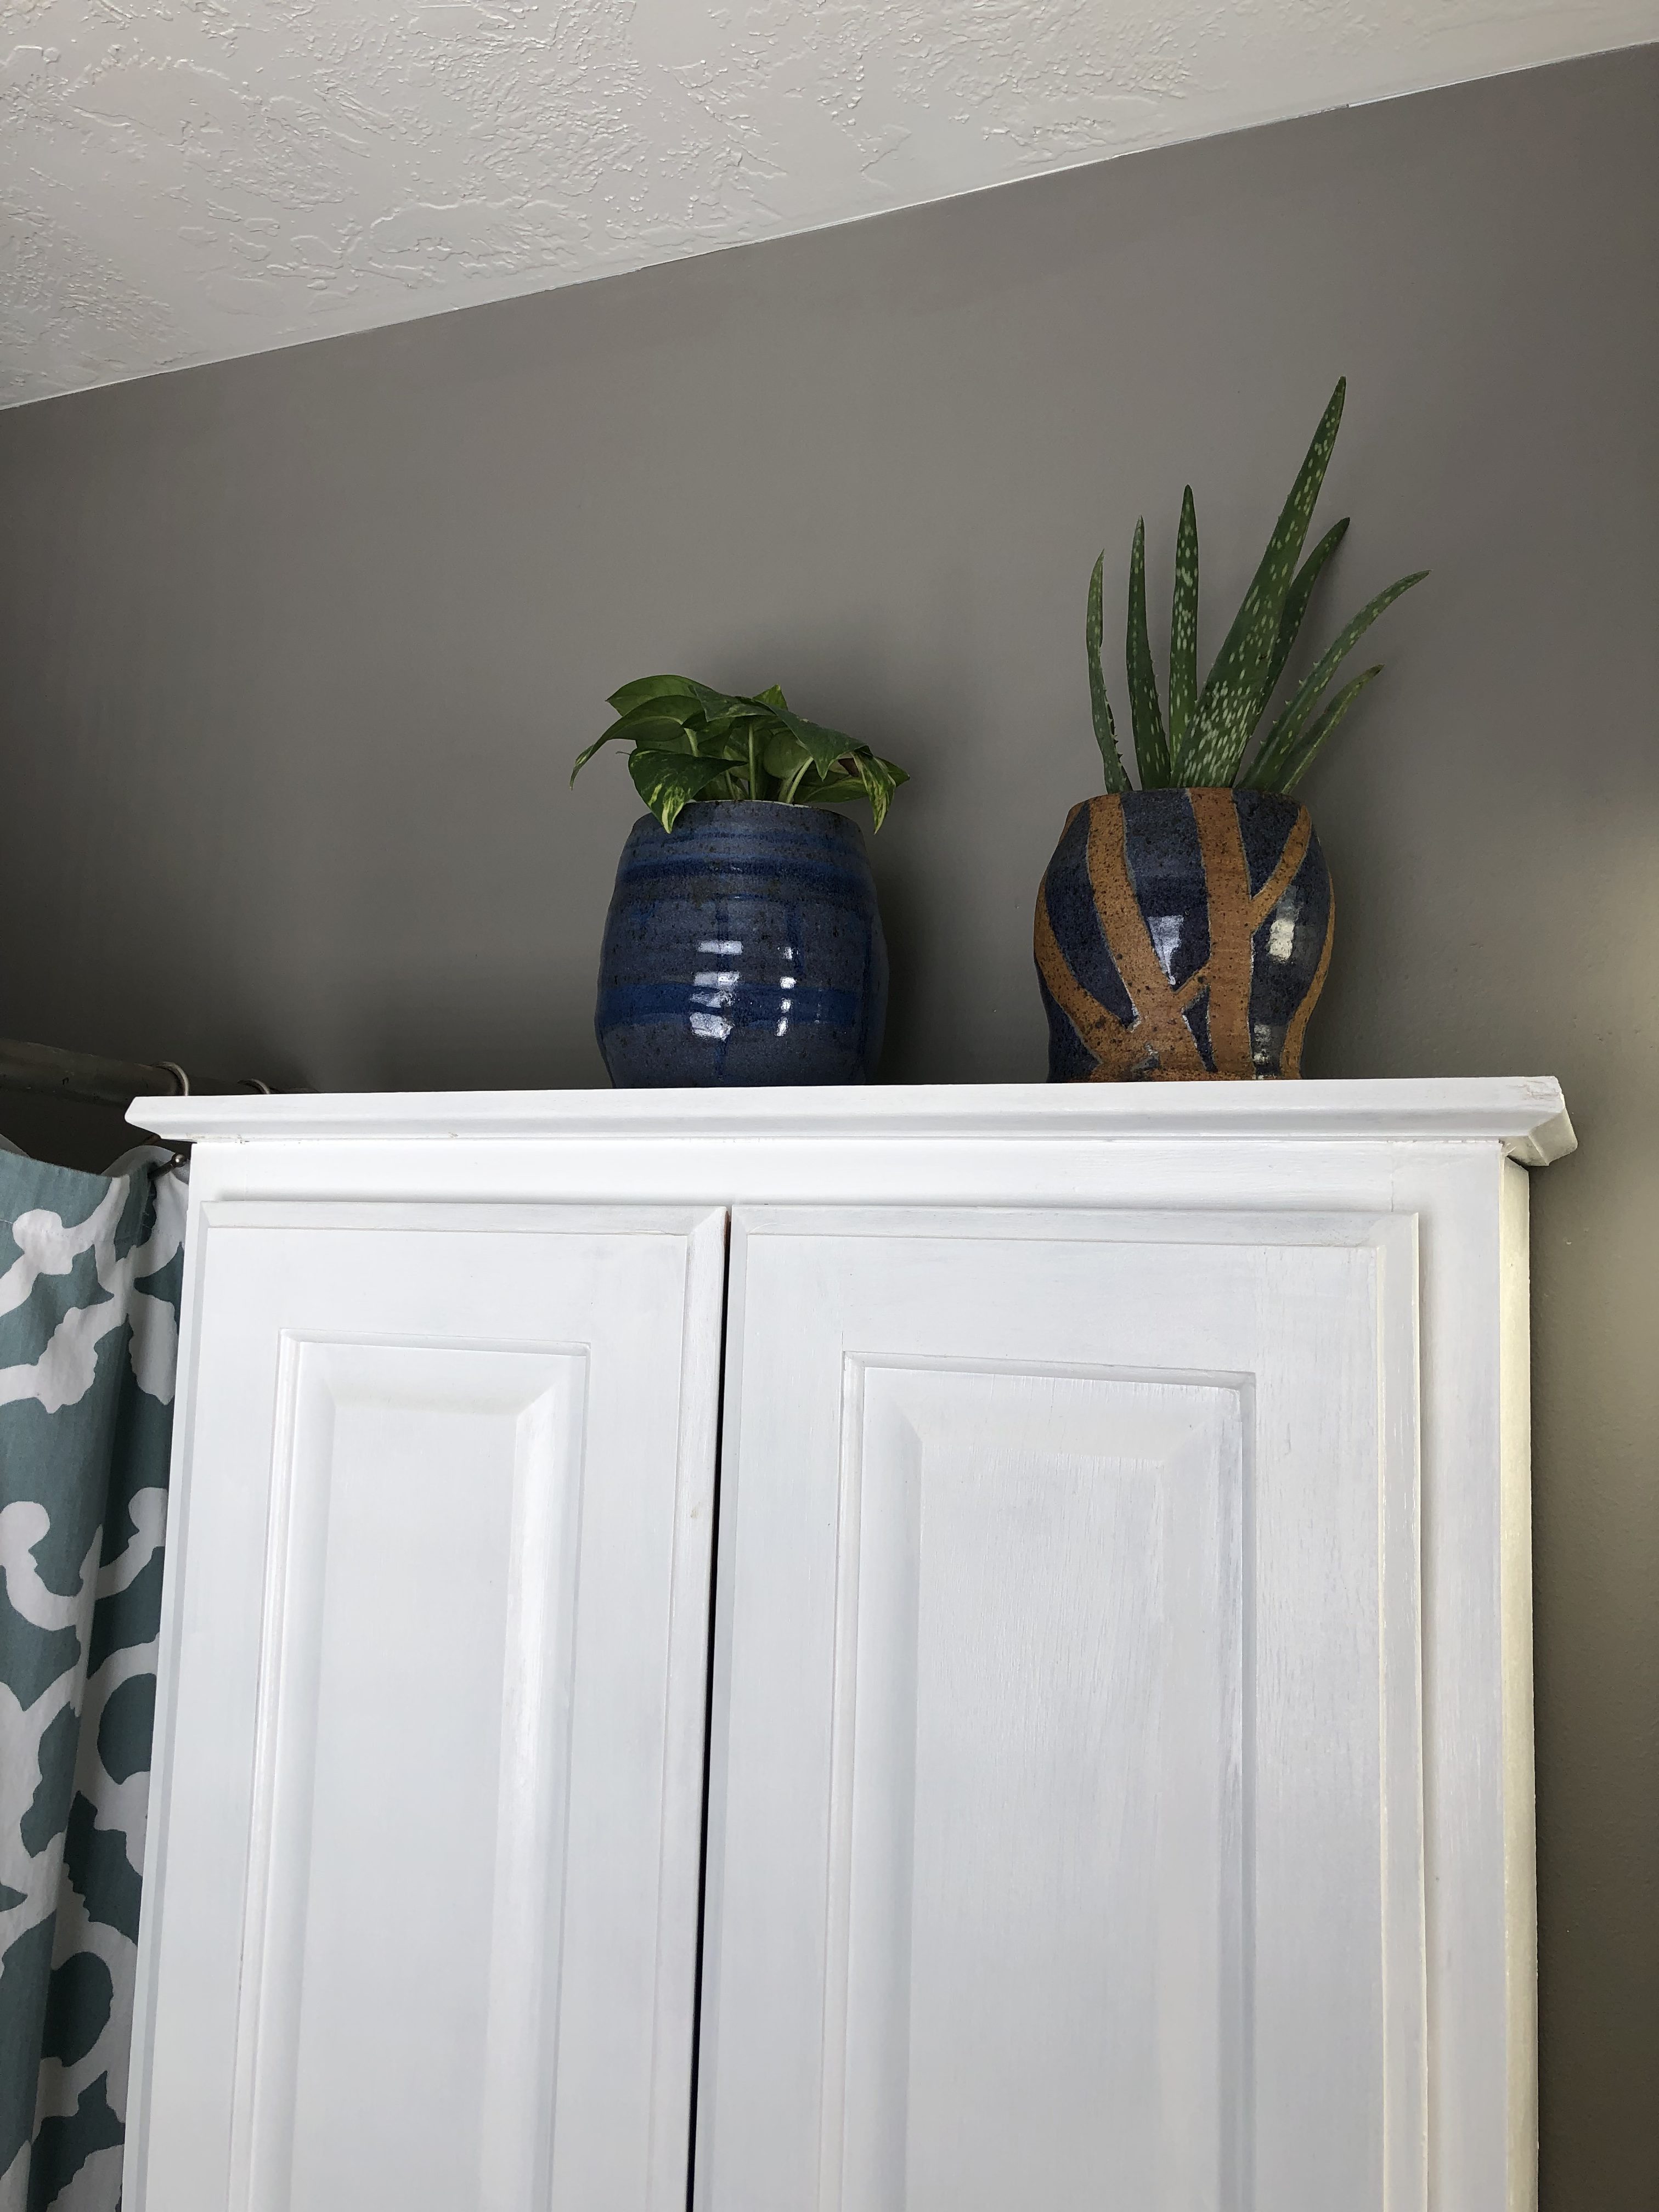
Even though really no one but my family will see it, I wanted to add some plants. And they make me smile every time I walk in. So that’s worth it right there!
Again, not wanting to spend money I found some pots that I made when I was in high school that would do the job. I did spend about $11 on the two plants. It was well worth it!

I needed to add rocks onto the bottom since my pots did not have drainage. I know somewhere in my house, garage, or shed I had rocks but I couldn’t find them. So I bought a bag at the dollar store. Another reason why I want to go through everything in my house!
It also snowed a ton and I didn’t want to make a path to the shed to get out my potting soil so while I was at the dollar store I bought a bag of soil. This dollar will go far because I have a lot left that I can use for more plants in other spaces.
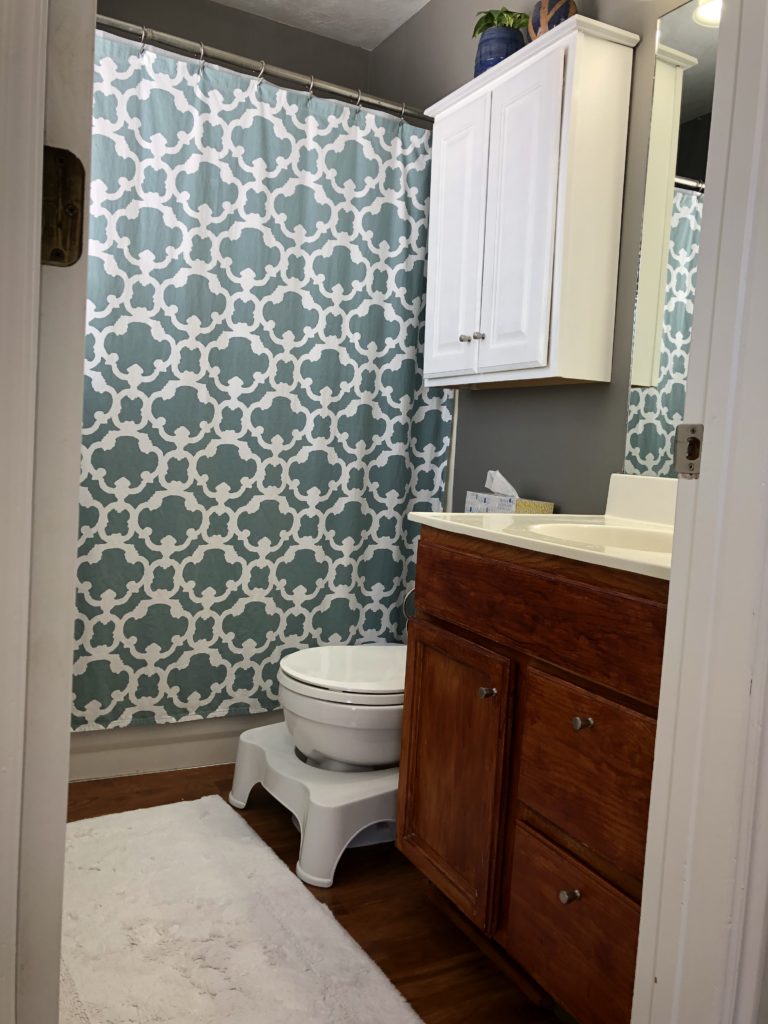
Eddy had some stuff he used to seal the cracks in the sink. So far they are holding and it looks so much better! We have not been able to find the replacement piece in the sink faucet. So we still have the leak. I needed the hot water back on because it’s just way too cold to wash my face in freezing water.
I have decided to just leave the faucet in the tub for now. It still works, just supper annoying when I have to change the water temp with soapy hands. 🙂 Haha!
We did buy a new shower liner. In the past we have bought them from the Dollar Store. But they were very flimsy. So we splurged 😉 and bought a heavy duty one for both bathrooms for $4.99.
So for this bathroom “fix” up I spent $18. And it looks so much better.
Steph #6: Enjoy Your New and Improved Bathroom
Yes!!! Get in there and enjoy the heck out of it! I can’t tell you how much more peaceful I feel when I enter my bathroom. A few hours of work + lots of junk thrown or given away = a happy space.
When my mom and sister were over I had them come in to show off my bathroom. Haha! Call me crazy, but someone HAD to see the improvement.
Now I just need to draw a bath, light a candle, and relax. And the next time my anxiety creeps up or I’m feeling depressed I’ll have to run to my new happy place, my decluttered master bathroom! 🙂
Here are a bunch of before and afters. Enjoy!
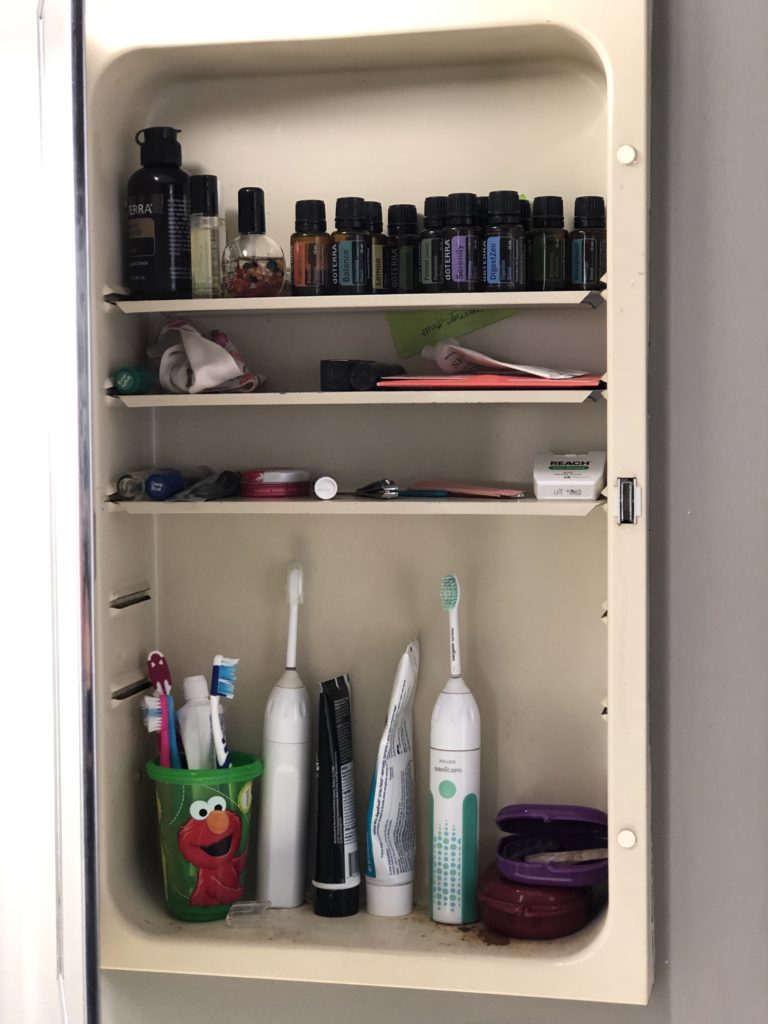
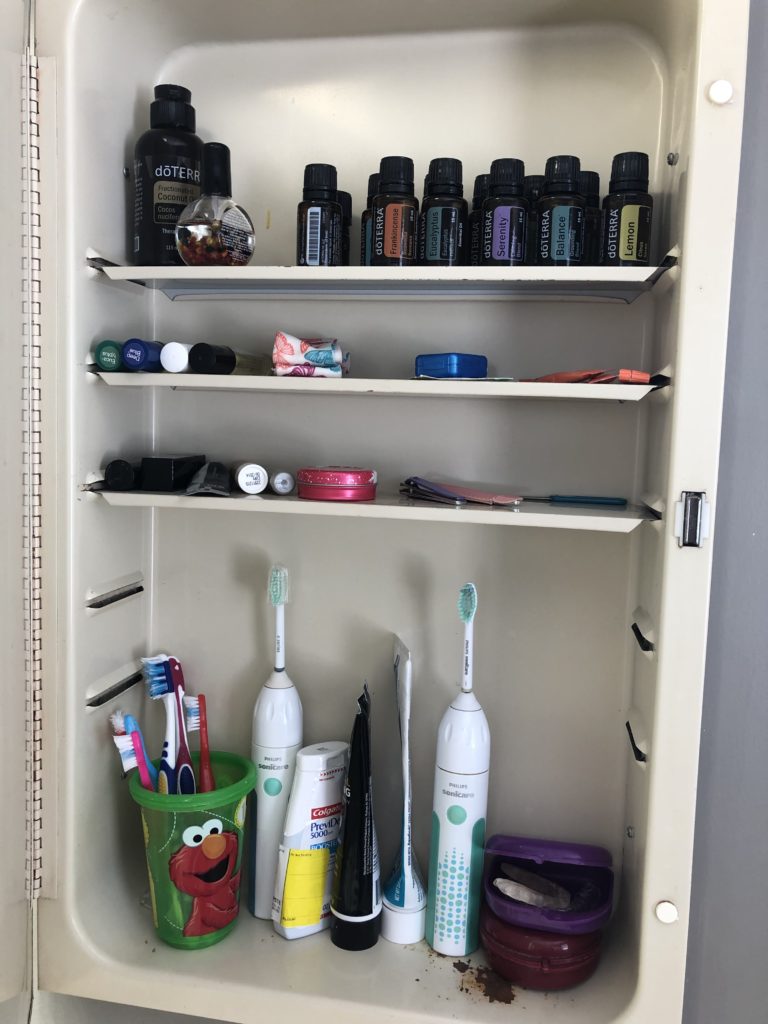
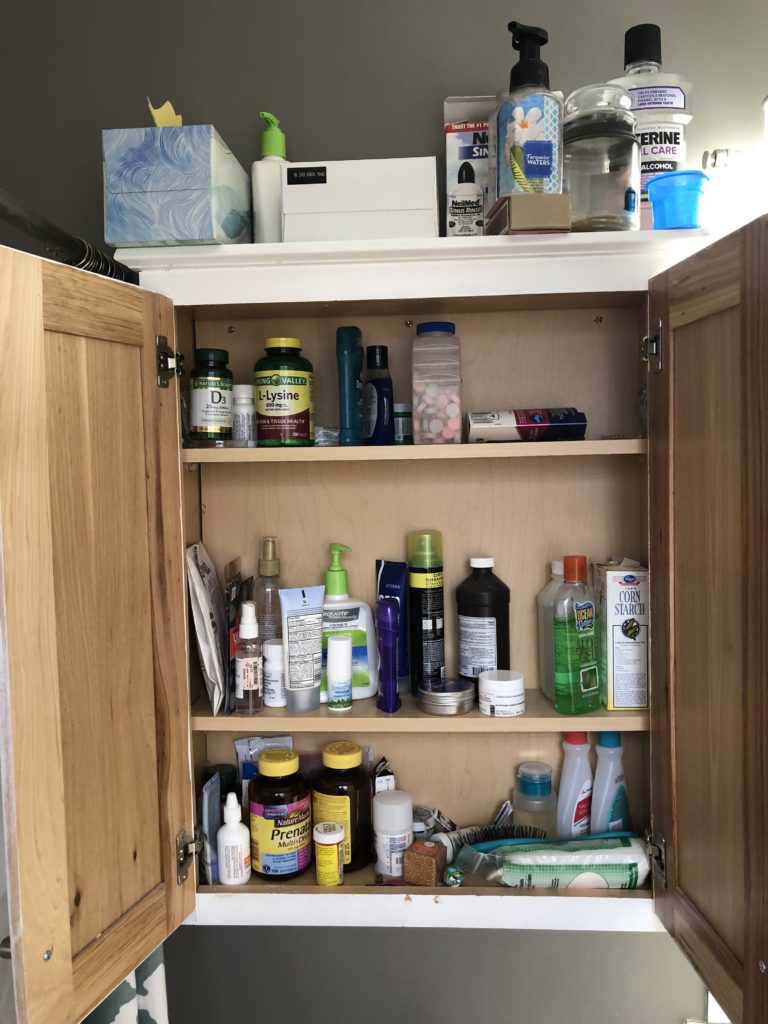
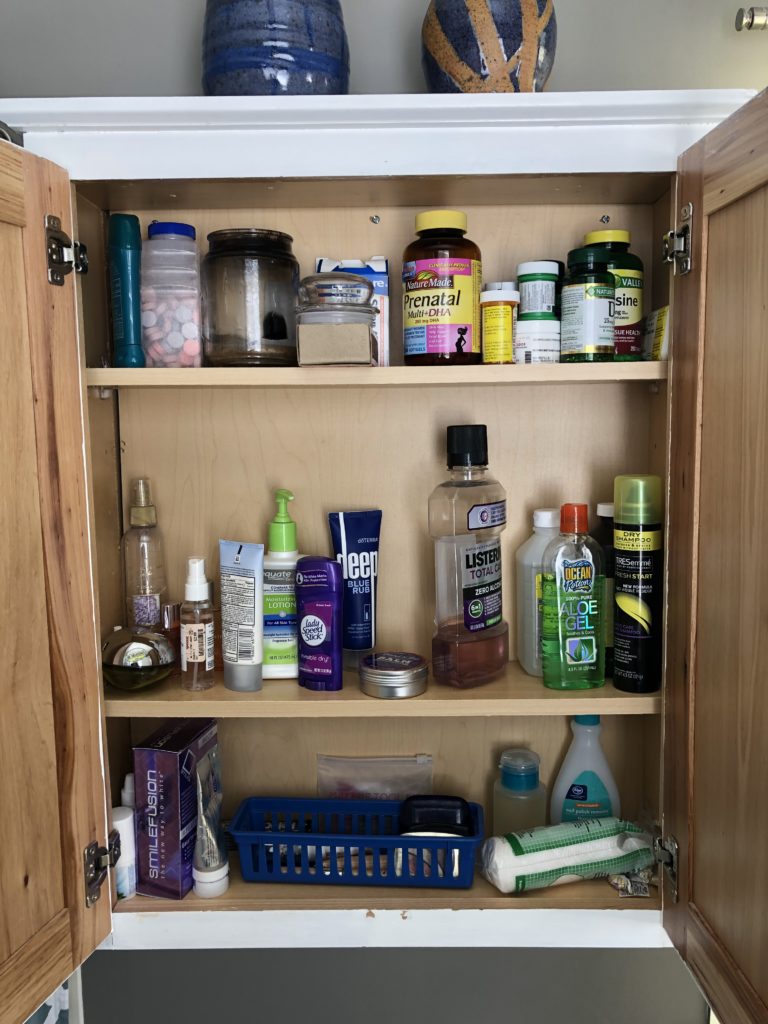
Medicine Cabinet

Before After
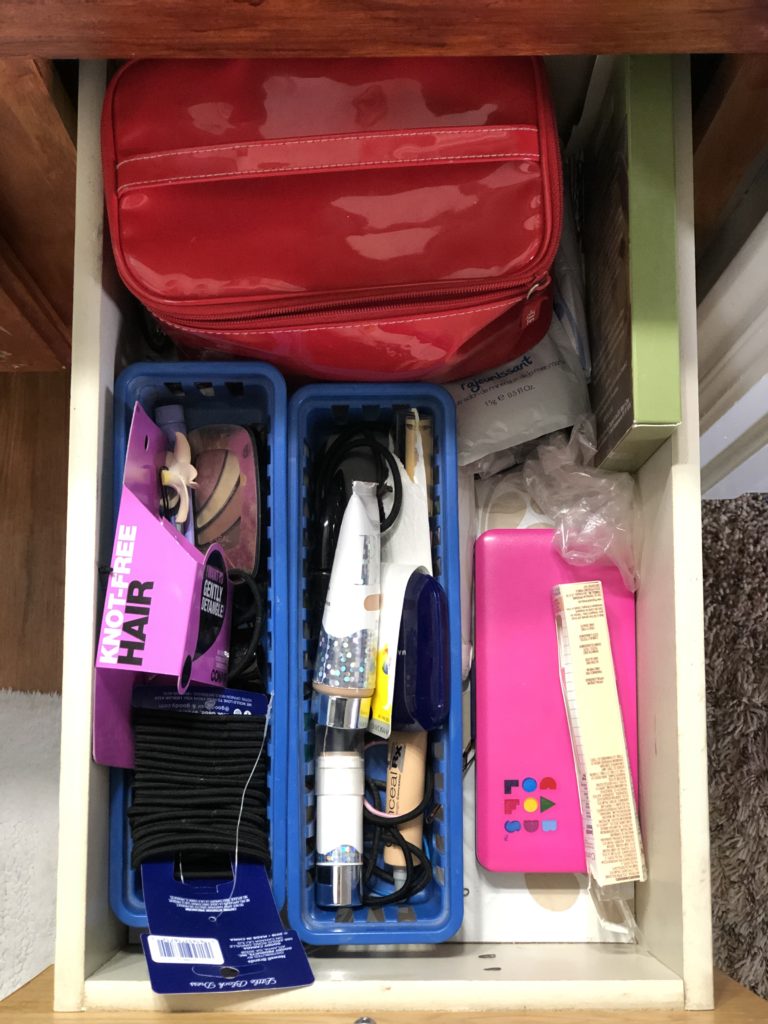
My Drawer
Before After
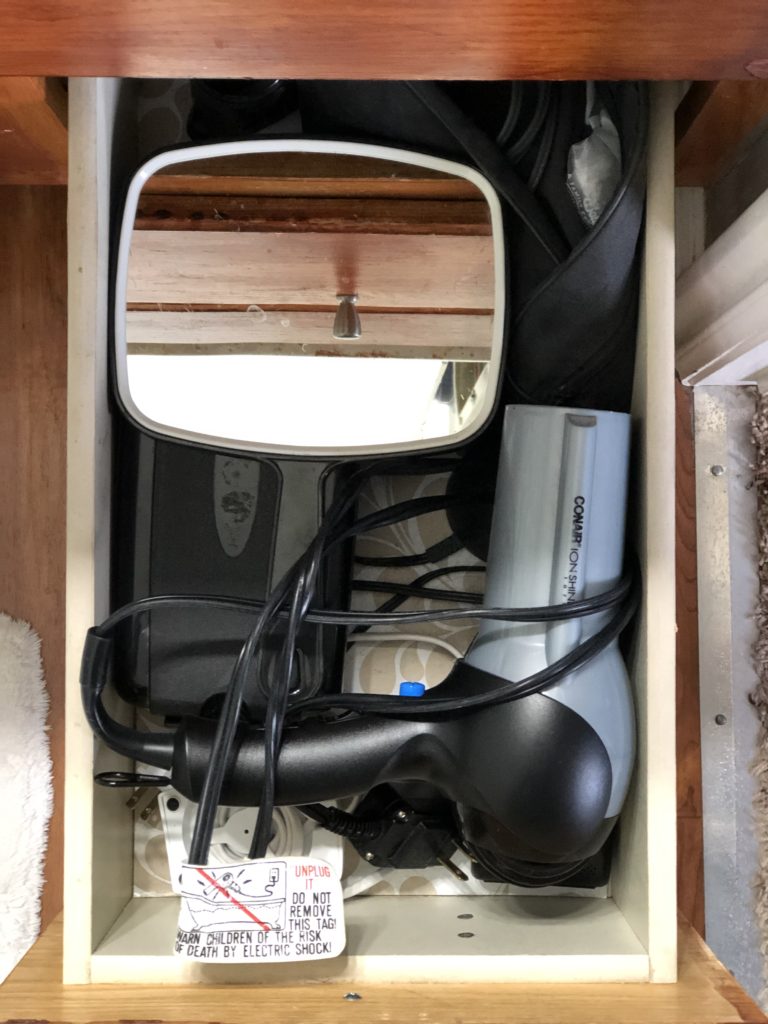
Hair Drawer
Before After

Above Toilet Cabinet
Before After
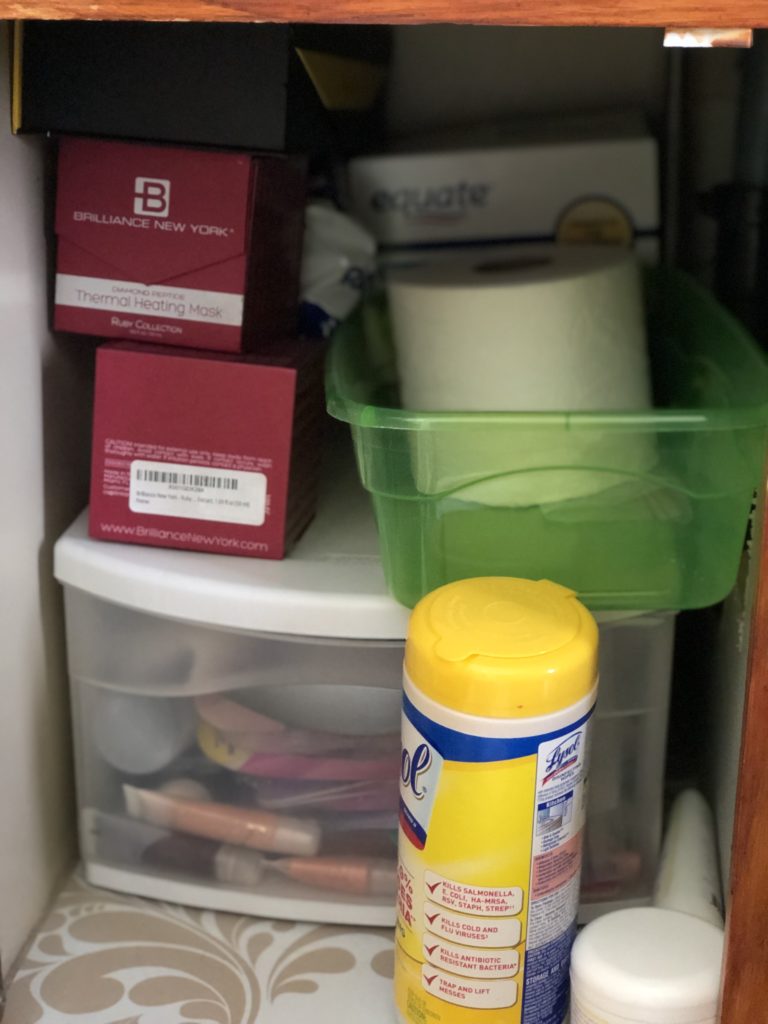
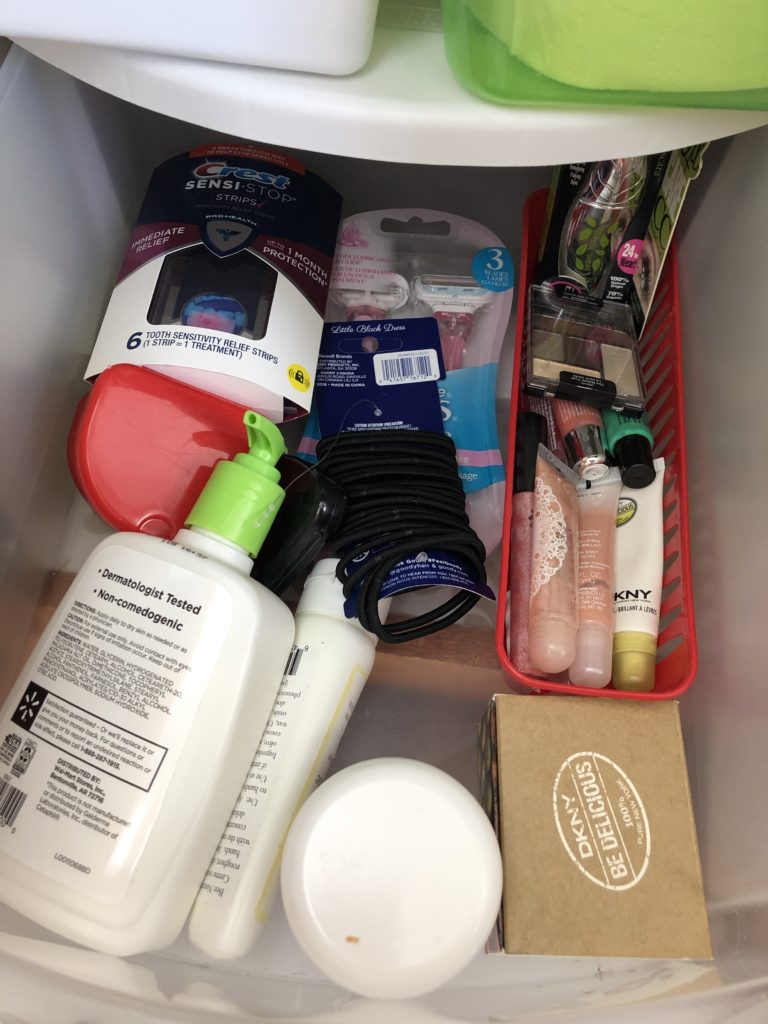
Under Sink Cabinet
Before After After
Master Bathroom
Before After
Here is my video talking through the before and after in greater detail. There are also some nasty gross shots of my sink and blinds. EKKK! I’m super embarrassed.
I hope this has motivated you to declutter your master bathroom or any bathroom! Let me know how it goes. I’d love to see before and after pictures. Good luck friends!


I love a good bathroom makeover! You did a great job, and the pots you made are so pretty.
So do I!! Thanks so much Tara! It seems like forever since I have used those pots. It was fun to dig them out.
I don’t see your signature pink nail kit in the after photo…you didn’t get rid of it did you?! 😱 nice work on this space!
Haha!! Oh, it’s still there. For some reason I just couldn’t throw it away, even though the things are not in it. haha! Thanks Em!
It looks great! Just like a model home! Who taught you to clean so well?? 🙂
Haha, either they lowered the model home standards or my bathroom is bomb! 😉 Thanks mom! I do believe you are the master cleaner in our family. 🙂